Replacing brake pads and rotors is a straightforward project for beginners and can markedly boost your vehicle’s stopping power and safety. Start by loosening the lug nuts, lifting your car, and removing the wheels. Then, unbolt the caliper, remove the old pads and rotors, and check for any issues. Install the new parts in reverse order, bleed the brakes if needed, and test drive carefully. Keep going, and you’ll discover all the steps to do it confidently.
Key Takeaways
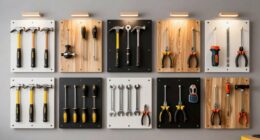
- Gather essential tools, lift the vehicle securely, and remove wheels to access brake components safely.
- Inspect brake pads and rotors for uneven wear or damage before removal.
- Unbolt caliper, suspend it properly, then remove old brake pads and rotors carefully.
- Install new rotors, apply brake lubricant, then fit new brake pads and reassemble caliper tightly.
- Bleed the brake system, check for leaks, and perform a test drive to ensure proper braking function.
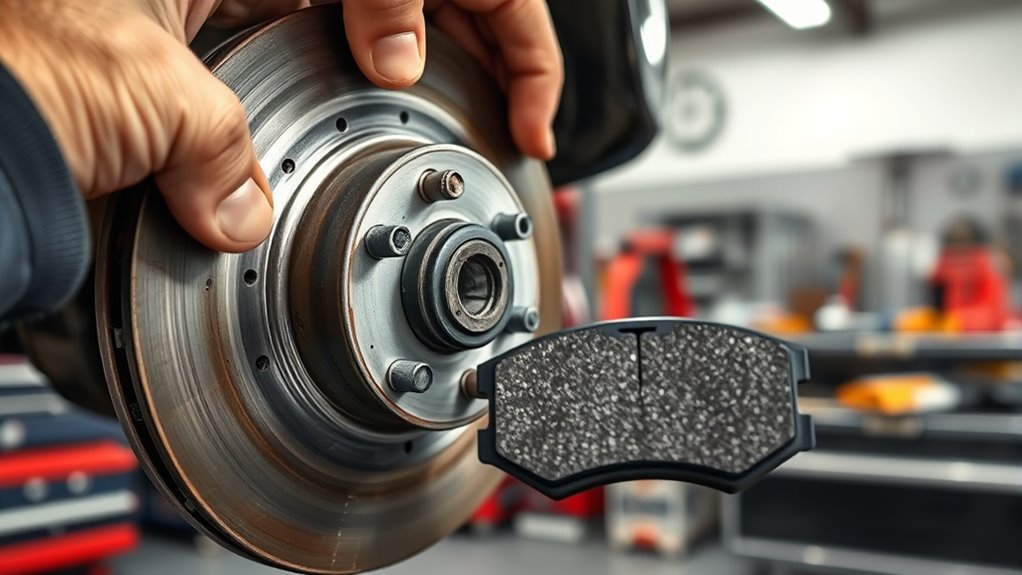
Replacing brake pads and rotors might seem intimidating at first, but with the right guidance, it’s a manageable DIY project. Your brakes are essential for safety, so understanding how to replace worn components can save you money and give you a better feel for your vehicle. The first step is to recognize the signs of brake wear. If your brake pedal feels softer than usual, or if you notice squealing, grinding, or decreased stopping power, it’s time to inspect your brake system. Often, brake pads wear down unevenly, which can cause vibrations or pulsing when you brake. Rotors can also become warped or scored over time, leading to reduced braking efficiency. Regular inspection can help you catch these issues early before they escalate.
Brakes warn you with squeals, softness, or pulsations—inspect early to avoid costly repairs and ensure safety.
When working on brake replacement, it’s critical to understand that brake wear isn’t just about replacing pads and rotors. During the process, you may need to perform brake bleeding—especially if you’ve had to disconnect hydraulic lines or if the brake fluid has become contaminated or air has entered the system. Brake bleeding removes air bubbles that can compromise braking performance, restoring firm pedal feel and consistent stopping power. You’ll need a clear plan for bleeding your brakes, which involves opening the bleed screw and using either a helper or a brake bleeding kit to push fresh brake fluid through the system. This step guarantees your brake fluid remains free of air and debris, maintaining proper hydraulic pressure.
Before starting, make sure you have all the necessary tools: jack, jack stands, lug wrench, socket set, brake caliper tool, and new brake pads and rotors. Safety is key, so work on a flat surface and secure your vehicle properly. Loosen the lug nuts slightly before lifting the car, then lift it and remove the wheels. Carefully unbolt the caliper mounting bolts and suspend the caliper—don’t let it hang by the brake hose. Remove the old brake pads, noting their placement for installing the new ones. Next, remove the rotor; if it’s stuck, gently tap it or use a rotor puller. Additionally, understanding the importance of properly sizing and load‑planning your brake components can help ensure optimal braking performance and safety.
When installing the new rotor, ensure it’s seated properly against the hub. Before mounting the new brake pads, consider applying brake lubricant to contact points to prevent squealing and ensure smooth operation. Once everything’s reassembled, it’s time for brake bleeding if necessary. Fill the master cylinder with fresh brake fluid, then bleed the brakes in a specific sequence, usually starting from the furthest wheel from the master cylinder. Pump the brake pedal several times to feel firmness, and check for leaks. Afterward, test drive carefully to confirm your brakes respond smoothly. With patience and attention, replacing your brake pads and rotors can be straightforward and rewarding, giving you confidence on the road.
Frequently Asked Questions
How Do I Know When My Brake Pads Need Replacing?
You’ll know your brake pads need replacing when you notice brake warning signs like squealing, grinding noises, or reduced braking performance. Check the pad thickness—if it’s less than a quarter inch, it’s time for a replacement. Pay attention to vibrations or a soft brake pedal, which also indicate worn pads. Regular inspections guarantee your brakes stay reliable, keeping you safe on the road.
Can I Replace Brake Pads and Rotors Myself Without Experience?
You can replace brake pads and rotors yourself, but you should prioritize DIY safety and understand your limits. If you have basic mechanical skills, follow detailed guides and take necessary precautions. However, it’s wise to get a professional inspection before and after the job to ensure safety. If you’re unsure or uncomfortable, consider consulting a professional to avoid mistakes that could compromise your vehicle’s braking performance.
What Tools Are Essential for Brake Pad and Rotor Replacement?
You’ll need essential tools like a socket set, a C-clamp to compress the caliper piston, and a brake caliper tool. Make sure to have a brake fluid reservoir cap or a turkey baster to manage brake fluid. A jack and jack stands are vital for lifting your vehicle safely. These tools help you work efficiently and safely while replacing brake pads and rotors.
How Long Does a Typical Brake Pad and Rotor Replacement Take?
You’ll typically spend about 1 to 3 hours replacing your brake pads and rotors. The process involves removing the wheels, calipers, and old parts, then installing new brake pads and rotors. Remember to check your brake fluid level and engage the parking brake properly. Taking your time guarantees safety and a thorough job, especially if you’re new to this task.
Are High-Performance Brake Parts Worth the Extra Cost?
Absolutely, high-performance brake parts can be worth the extra cost. You’ll notice performance benefits like better stopping power, reduced fade, and enhanced durability, especially during intense driving or heavy braking. While the cost comparison favors standard parts for daily driving, enthusiasts and those who prioritize safety and superior stopping ability often find the investment worthwhile. Ultimately, premium parts provide peace of mind and peak performance when it matters most.
Conclusion
Replacing your brake pads and rotors might seem intimidating at first, but it’s a journey of empowerment. Think of each part as a chapter in your vehicle’s story—by maintaining them, you’re writing a safer, smoother future. Remember, just as a wheel relies on its parts working in harmony, your confidence grows with each skill you learn. Embrace this process; it’s not just about repairs, but about taking control and steering your own path forward.