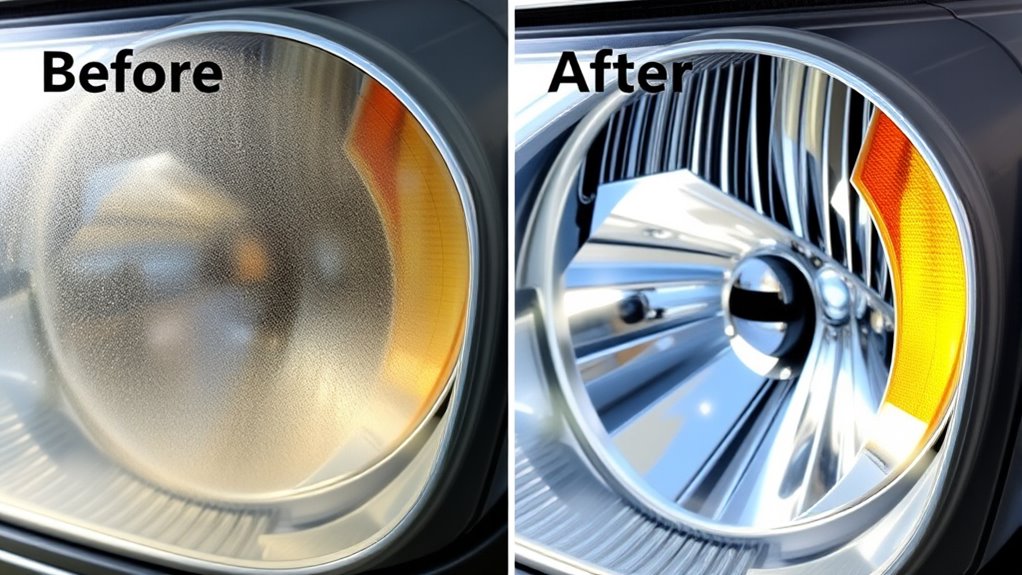

To quickly refresh cloudy headlights, start by masking the edges with tape to protect your paint. Rinse the headlights with water, then dry thoroughly. Apply a headlight restoration product or even toothpaste in small circles, scrubbing gently to break down oxidation. Rinse well and dry again. For lasting results, finish with a UV sealant to prevent future hazing. If you’re interested in more tips to keep your headlights clear longer, keep exploring!
Key Takeaways
- Protect car paint by masking around headlights with painter’s tape before cleaning.
- Rinse headlights thoroughly with water to remove dirt and debris for better clarity.
- Use a headlight restoration kit or apply automotive polish in circular motions to remove oxidation.
- Rinse off residual haze completely and dry headlights with a soft cloth for a clear finish.
- Apply a UV sealant or protective coating to maintain clarity and prevent future cloudiness.

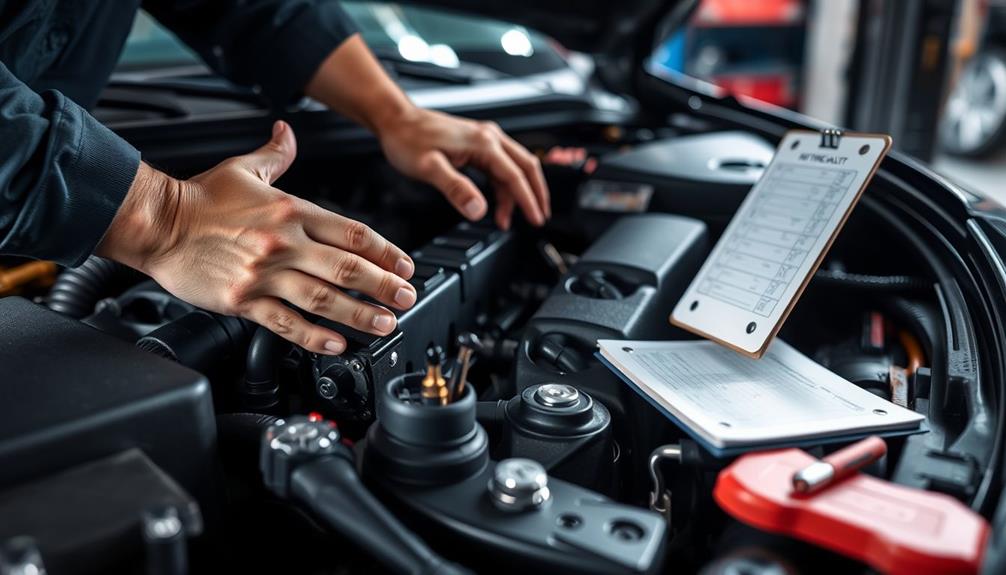
Cloudy headlights can considerably reduce your visibility and compromise driving safety, but you don’t need to replace them to restore clarity. Instead, you can perform headlight restoration right at home with some simple DIY cleaning techniques. Over time, exposure to sunlight, dirt, and environmental pollutants causes the plastic lens to oxidize, resulting in that dull, yellowish haze. Fortunately, this is a common issue with an easy fix. With a little effort, you can bring back your headlights’ original brightness in just about 30 minutes.
Start by gathering a few basic supplies: masking tape, automotive polish or a headlight restoration kit, a soft cloth or sponge, and some water. Protect your car’s paint around the headlights by taping off the edges with masking tape. This prevents accidental scratches and makes cleanup easier. Once your area is prepped, rinse the headlights with water to remove loose dirt and debris. Dry them thoroughly so you can get a clear view of the surface.
Next, apply a small amount of the chosen cleaning product—either a dedicated headlight restoration compound or a DIY solution like toothpaste or baking soda mixed with water—to a soft cloth or sponge. Using circular motions, gently scrub the surface. The mild abrasive action helps remove the oxidized layer and clears away the cloudiness. Keep rinsing and reapplying as needed until the lens begins to look clearer.
If you’re using a DIY cleaning method, such as toothpaste, remember it’s effective because of its gentle abrasiveness. Regular toothpaste works fine, but for more stubborn haze, a specialized headlight restoration product may be more effective. After scrubbing, rinse the headlights thoroughly with water to wash away any residue.
Once you’re satisfied with the clarity, dry the lights completely and consider applying a UV sealant or protective coating. This step helps prevent future oxidation and keeps your headlights shining longer. If you used a restoration kit, follow the instructions for applying the sealant included in the package. Additionally, maintaining a digital-friendly environment at home can help you stay organized and ensure you have all necessary supplies on hand for quick repairs like this.
Performing DIY cleaning for headlight restoration is quick, cost-effective, and can make a noticeable difference in your vehicle’s appearance and safety. You don’t need to invest in new headlights or spend a lot of money—just a little time and some common household items can restore your headlights to showroom clarity. With this simple maintenance, you’ll improve your visibility on the road and ensure safer driving conditions every time you hit the street.
Frequently Asked Questions
Can I Use This Method on Plastic or Glass Headlights?
You might wonder if this headlight restoration method works on plastic or glass headlights. Typically,, it’s designed for plastic compatibility since most modern headlights are plastic, and the process effectively clears cloudy, yellowed surfaces. Be cautious with glass headlights, as they may require different products or techniques. Always check the manufacturer’s instructions and test a small area first to ensure safe and effective restoration.
Will This Process Damage UV Coatings or Protective Films?
Think of your headlights as delicate glass sculptures; you wouldn’t want to mar their beauty. When considering UV protection and plastic safety, this process is gentle and designed to preserve your headlight’s surface. It’s unlikely to damage UV coatings or protective films if you follow instructions properly. The method cleans without stripping or harming the protective layers, ensuring your headlights stay clear and protected, shining bright like a jewel in the night.
How Often Should I Repeat This Headlight Cleaning?
For ideal headlight maintenance, you should clean your headlights every 6 to 12 months, depending on your driving conditions. Regular cleaning prevents buildup of dirt and oxidation, maintaining brightness and safety. If you notice cloudiness or reduced visibility, it’s time to clean them again. Frequent cleaning won’t damage UV coatings or protective films if done properly, but avoid overdoing it to preserve the longevity of your headlights’ protective layers.
Is This Solution Effective on Heavily Oxidized Headlights?
You might wonder if this solution works on heavily oxidized headlights. While chemical treatments can improve minor to moderate headlight oxidation, they often struggle with severe oxidation. For heavily oxidized headlights, you may need a more intensive approach, like sanding followed by chemical treatments, to restore clarity. So, don’t expect perfect results with just a simple solution; it’s better suited for light to moderate oxidation.
Are There Any Safety Precautions I Should Follow During Cleaning?
Like a knight preparing for battle, you should take safety precautions when cleaning headlights. Always wear safety gear such as gloves and goggles to protect your skin and eyes. Make certain proper ventilation by working in a well-ventilated area, especially if you’re using chemical polish or abrasive agents. Follow the product instructions carefully, and avoid inhaling fumes. These steps keep you safe while achieving clear, bright headlights.
Conclusion
So, after just half an hour, your headlights go from foggy to fabulous—almost too good to be true. Ironically, the very solution that restores clarity is so simple, it’s almost laughable. You’ll wonder why you ever endured cloudy beams in the first place. With this quick fix, you’ll cruise confidently, shining brighter than you thought possible—proof that sometimes, the easiest tricks make the biggest difference. Who knew clarity could be so surprisingly effortless?