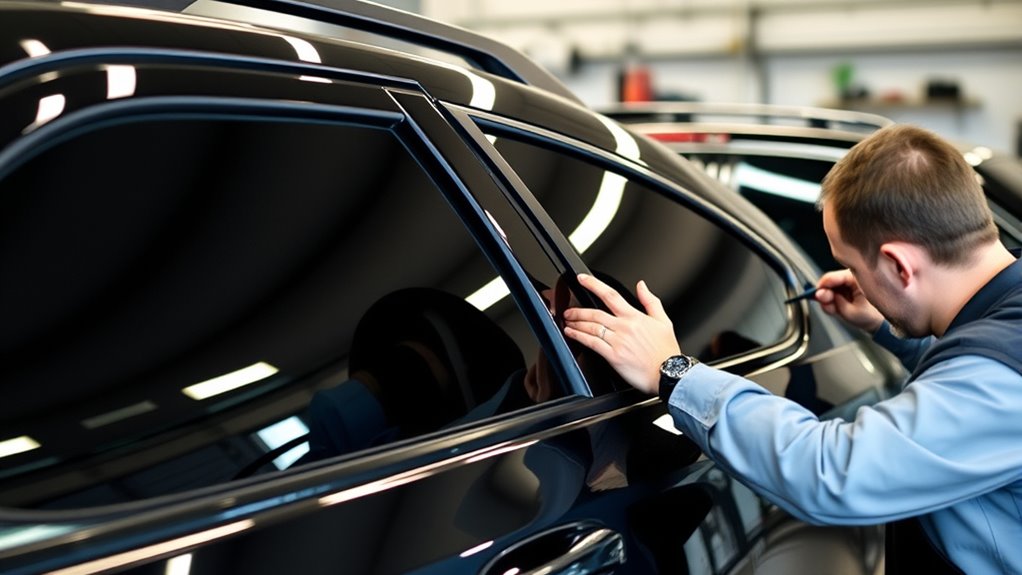
When tinting your Dodge Durango or Charger, you’ll want to choose VLT levels that match your local legal limits, balancing heat rejection and privacy. Consider regional preferences, with sunbelt states favoring darker tints for rear windows, while other areas prefer lighter shades for front windows. Proper preparation, using model-specific techniques, and ensuring a professional installation can prevent issues like bubbling or peeling. Continue exploring to discover tips for achieving a flawless, durable tint that complies with laws.
Key Takeaways
- Choose VLT levels according to Dodge Durango or Charger model, regional laws, and desired UV and heat protection.
- Prepare the vehicle by cleaning windows and verifying legal tint limits before installation.
- Use model-specific techniques, such as bottom-loading for Durango or heat shaping for Charger’s curved windows.
- Opt for high-quality films like ceramic or carbon for durability, UV protection, and glare reduction.
- Allow proper curing time, avoid window operation for 48-72 hours, and schedule professional inspections for compliance.
Understanding VLT Options and Legal Guidelines

Understanding VLT options and legal guidelines is essential when choosing window tint for your Dodge Durango or Charger. VLT, or visible light transmission, measures how much light passes through your tint film; for example, 50% VLT means half the light gets through. Lower VLT percentages, like 20%, create darker tints that block more UV rays and heat but may risk legal issues. Higher VLTs, such as 70%, offer subtle glare reduction and are more likely to meet state laws. Factory rear windows typically range between 20-30% VLT, and combined tint and glass must stay within legal limits. Be aware of your state’s restrictions on windshield and front side windows, as well as any medical exemptions. Staying informed helps you select the right tint that balances style, comfort, and compliance. Additionally, understanding the legal limits for VLT helps prevent penalties and ensures your vehicle remains road-legal. Knowing your state’s specific regulations can prevent violations and help you choose an appropriate tint level. Being familiar with window tint laws in your area can also aid in avoiding costly fines and legal complications.
Preparing Your Vehicle for Tinting: Key Steps and Precautions

Properly preparing your vehicle for tinting is vital to guarantee a smooth installation and long-lasting results. Start by inspecting the glass to confirm it’s in good condition, with no cracks or damage. Thoroughly wash both the interior and exterior surfaces, paying special attention to the windows with a soapy water solution to remove dirt and grime. Clean gaskets and seals around the windows to prevent dust from contaminating the tint. Verify local tint laws to stay compliant and budget accordingly for the project. Booking an appointment with a reputable installer and allowing 2 to 4 hours for the process is essential. Make sure the environment is dust-free, and gather all necessary tools and supplies beforehand. Clear communication with your installer helps achieve the desired tint level and quality. Additionally, understanding somatic therapy techniques can be beneficial for individuals seeking emotional stress relief after the installation process. Being aware of vape juice shelf life and proper storage methods can help prevent unexpected issues if you plan to handle related products in the same environment. Incorporating sound healing science principles can also create a calming atmosphere during the process. Incorporating knowledge of resources and training can further enhance your understanding of quality standards and best practices in vehicle customization.
Model-Specific Tinting Techniques and Challenges

When tinting your Dodge Durango or Charger, you must account for each model’s unique window configurations and design features. The Durango’s large rear window requires bottom-loading techniques to guarantee proper film alignment, while its rear deck lid needs precise creasing to prevent air gaps. For the Charger, curved rear windows demand heat guns to mold the film properly, and exterior pre-shaping minimizes interior adjustments. The narrow window channels in the Charger increase the risk of bunching, so careful insertion is essential. Durango’s front windows often need trimming to avoid door seal interference, and attention to defroster lines is critical to prevent damage. Using model-specific tools and techniques helps you navigate these challenges, ensuring a clean, long-lasting tint job. Additionally, understanding the cultural impact of vehicle customization can help you better appreciate the importance of a quality installation. Properly handling these model-specific features not only enhances the vehicle’s appearance but also preserves its value over time. Recognizing the importance of attention to detail during installation ensures a professional finish that meets both aesthetic and functional needs. Incorporating noise reduction technology techniques during tinting can also minimize vibrations and ensure a smooth application process. Familiarity with Lifevest Advisors guidelines on proper installation practices can further improve results and durability.
Selecting the Right Tint: Features and Benefits

Choosing the right window tint involves balancing legal requirements, desired benefits, and your vehicle’s specific features. For UV protection and heat rejection, ceramic films are excellent, blocking 99% of UV rays and reducing infrared heat. If you prefer a matte finish and glare reduction, carbon films are a good choice, offering durability and resistance to fading. Dyed films are budget-friendly but less heat-resistant, while metallic hybrids boost heat rejection but might interfere with electronics. Consider your state’s VLT regulations to avoid inspection issues—factory-matched tints often meet standards. Also, darker tints provide more privacy but may reduce night visibility. High-quality films last 5-8 years with proper care, giving you a blend of protection, style, and compliance tailored to your needs. Additionally, selecting a tint that complements your vehicle’s window materials can improve overall durability and effectiveness. Choosing a tint that matches your climate conditions ensures optimal performance and longevity. Being aware of affairs and potential complications with digital evidence can help you make informed decisions about vehicle privacy and protection. When choosing a tint, it’s also important to consider installation techniques to ensure long-lasting results and optimal appearance. Furthermore, understanding the technology behind different films can help you select the most suitable option for your preferences.
Common Installation Difficulties and How to Overcome Them

Installing window tint on a Dodge Durango or Charger can present several challenges due to the vehicle’s complex glass shapes and interior components. The back glass’s steep curvature often creates air pockets and lifting edges, making it hard to achieve a smooth finish. Access to rear glass may require removing the rear deck or interior panels, especially with subwoofers nearby, which can interfere with proper film placement. Heated rear window elements pose a risk of damage if not handled with the correct heat gun techniques. Inconsistent matrix dot borders demand wet sanding with fine grit to ensure proper contact. Additionally, metal retention clips might detach during headliner removal, requiring careful reinstallation with needle-nose pliers. Anticipating these issues helps guarantee a smoother, more durable tinting process. Proper preparation and understanding of vehicle glass intricacies are essential for a successful installation. Being aware of specialized tinting techniques can also significantly improve the overall outcome. Moreover, familiarity with installation tools and methods can help address unexpected obstacles more effectively. Recognizing the importance of professional assessment can further prevent installation errors and ensure long-lasting results. Incorporating vibrational awareness during installation can help you better adapt to unforeseen challenges and maintain focus throughout the process.
Ensuring Proper Adhesion and Sealant Application

Ensuring proper adhesion and sealant application is essential for a durable window tint installation on your Dodge Durango or Charger. First, clean the glass thoroughly with a glass cleaner and lint-free cloth to remove dirt and grime. Use a slip solution to reduce friction during application, making it easier to position the tint smoothly. Apply an adhesive promoter evenly across the surface to enhance bonding. Once the tint is in place, use a squeegee to eliminate air bubbles and gaps, ensuring full contact with the glass. Around the edges, apply a silicone-based sealant to prevent moisture ingress. Allow the sealant to cure fully before exposing the vehicle to water or harsh weather. Proper adhesion and sealing are key to a long-lasting, professional finish. Additionally, understanding the importance of proper surface preparation can significantly improve the longevity of your tint and sealant. Incorporating advanced sealing techniques can further enhance durability and resistance to environmental factors, especially as automation in manufacturing continues to evolve and influence quality standards.
Post-Installation Care and Inspection Tips

After completing the window tint installation, proper post-care is crucial to guarantee its longevity and performance. Avoid rolling down your windows for 48–72 hours to prevent peeling or edge lifting. Park in shaded or temperature-controlled areas to minimize heat exposure during curing. Clean the windows gently with ammonia-free products to protect the adhesive and avoid streaks, using microfiber cloths to reduce scratching. Regularly inspect for bubbles or moisture pockets, as minor issues often resolve during curing. Confirm your tint complies with local laws by verifying VLT percentages and checking regulations for rear windows. Document your installer’s certification for easier inspections. Finally, schedule annual professional inspections, avoid car washes for the first few weeks, and use UV protectant sprays to maintain your tint’s quality over time.
Regional Preferences and Customization Ideas

Regional preferences heavily influence your choice of window tinting for your Dodge Durango or Charger. In sunbelt states, higher VLT percentages like 50% on full windshields are common, while the Northeast sticks to stricter limits, often choosing 70% front windows with darker rears. Midwest drivers tend to opt for a balanced look with around 35% VLT everywhere, and Western states favor UV-blocking clear films. Southern areas prioritize ceramic tints to combat heat. Here’s a quick overview:
| Region | Popular Tint Level |
|---|---|
| Sunbelt States | 50% VLT on windshields, darker rears |
| Northeast | 70% front, darker rear windows |
| Midwest/South | 35% VLT for all-around balance, ceramic tints |
Your choices reflect local laws and climate needs, guiding your customization.
Frequently Asked Questions
Can I Tint My Vehicle Windows Darker Than Legal Limits?
You wonder if you can tint your vehicle windows darker than legal limits. Generally, you can’t unless you have a medical exemption certified by a licensed physician. Keep the exemption documentation in your vehicle and present it if law enforcement asks. Be aware that penalties include fines and failed inspections if you’re caught with illegal tint. For safety and compliance, consider professional installation of legal tint films or alternative options like sunshades.
How Long Does a Typical Tinting Installation Take?
Ever wonder how long a tinting job usually takes? Typically, it takes between 2 to 4 hours for a full vehicle, depending on the size and complexity. Smaller jobs, like tinting just the front windows, can be done in less than 45 minutes. Remember, factors like old tint removal and the number of windows can extend this timeframe. Skilled installers help speed up the process, ensuring quality results.
Is Ceramic Film Suitable for All Window Types?
Ceramic film works well on most window types, including curved and flat surfaces, and is compatible with laminated and tempered glass. You’ll find it effective on windshields, rear, and side windows, even privacy or factory-tinted glass. It reduces heat, UV rays, and glare without interfering with signals or defrosters. Just remember, professional installation guarantees it adheres properly and performs at its best across all your vehicle’s windows.
Will Tinting Affect My Vehicle’S Electrical Systems?
Did you know that improper tinting causes over 30% of vehicle electrical malfunctions? When you ask if tinting affects your vehicle’s electrical systems, the answer depends on the type and installation. Non-metallic films, like ceramic or carbon tints, typically won’t interfere, especially when installed carefully. To avoid issues, opt for professional installation, keep electronic components protected, and verify electronics work fine afterward. Properly done, tinting won’t compromise your vehicle’s electrical systems.
What Maintenance Is Required After Window Tinting?
After getting your windows tinted, you should clean them carefully to maintain their appearance and durability. Use a soft microfiber cloth with ammonia-free cleaner, preferably in the shade, and avoid abrasive materials. Regular inspections help catch damage early, and gentle removal of air bubbles keeps the tint smooth. Don’t use razor blades or harsh chemicals, and consult professionals for repairs to guarantee your tint stays in top condition.
Conclusion
By paying close attention to VLT options and following proper preparation, you can enjoy a seamless tinting experience for your Dodge Durango or Charger. Embrace the nuances of model-specific techniques and select the right tint to enhance your vehicle’s style and comfort. With careful installation and ongoing care, your windows will remain a subtle touch of personalization, quietly elevating your driving experience. After all, sometimes the finest details make all the difference in your journey.


