When installing aftermarket gauges like boost, oil pressure, or temperature, you need to carefully plan your wiring, ensuring connections are secure and grounded properly to prevent false readings. Calibrate each sensor with verified reference points for accuracy before finalizing the setup. Use quality wiring and protect it from heat, moisture, and moving parts. Double-check all connections and test each gauge’s response. If you keep exploring, you’ll master the key steps to a safe, effective installation.
Key Takeaways
- Follow manufacturer instructions carefully for sensor calibration to ensure accurate readings before connecting gauges.
- Plan wiring routes to be short, protected, and away from heat or moving parts, securing connections with proper insulation.
- Connect power to a stable, switched source like the fuse box, and ensure proper grounding to prevent electrical issues.
- Test each gauge after installation for correct response, accuracy, and secure wiring before finalizing the setup.
- Use quality wiring, secure all connections, and double-check for proper calibration to ensure reliable vehicle monitoring.
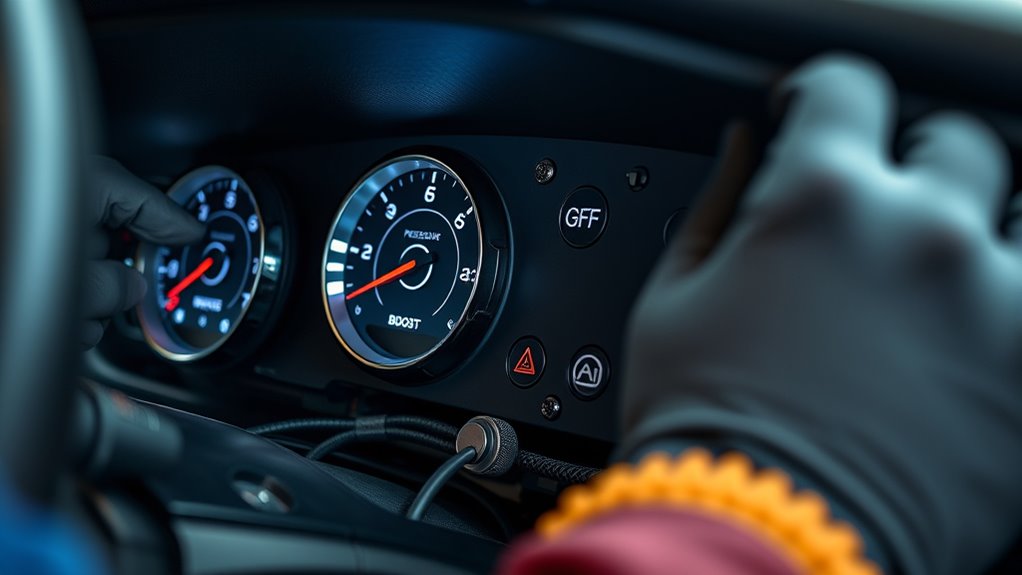
Installing aftermarket gauges allows you to customize your vehicle’s dashboard for better monitoring and performance insight. Whether you’re aiming to track boost pressure, oil temperature, or other essential parameters, proper installation guarantees you get accurate readings and reliable performance. One of the most critical steps in this process is sensor calibration. Before you connect the gauges, you need to guarantee each sensor provides precise data. Calibration involves adjusting the sensor or gauge settings so the readings match known standards or baseline measurements. This step is indispensable because inaccurate sensor calibration can lead to misleading information, which might cause you to make incorrect decisions about your vehicle’s health or performance. Take the time to follow the manufacturer’s calibration instructions carefully, and use a known reference point, like a verified pressure source or temperature benchmark, to set accurate readings.
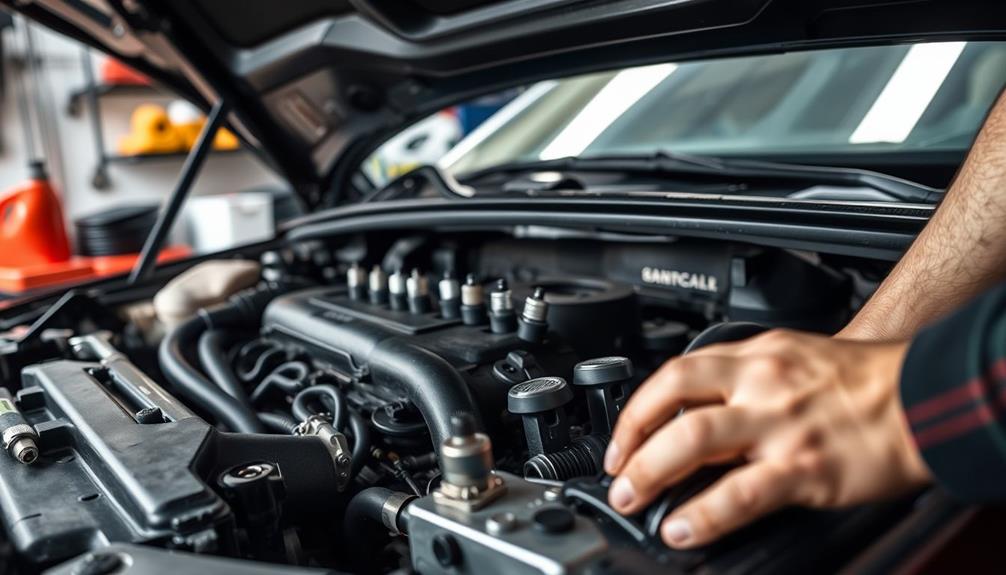
Wiring techniques are equally important. When installing aftermarket gauges, you’ll need to run wires from the sensors to your gauge cluster, often through the vehicle’s dash or firewall. Use quality wiring to prevent signal interference or short circuits. It’s best to plan your wiring route before starting, identifying the shortest and most protected path to avoid damage from heat, moving parts, or moisture. Crimp connectors or solder joints should be solid, with insulated terminals to prevent accidental shorts. Proper grounding is essential; connect the gauge’s ground wire to a clean, unpainted metal surface, ensuring a good electrical connection. Additionally, power wires should be connected to stable, switched power sources—often through the fuse box or an ignition-switched terminal—so the gauges turn on and off with the vehicle.
During installation, pay close attention to wiring techniques to keep everything neat and secure. Use cable ties to bundle wires and prevent them from moving or chafing against other components. Proper insulation and routing help prevent potential electrical issues or false readings. If you’re not confident in your wiring skills, consult the gauge’s wiring diagram or seek professional help. Poor wiring or incorrect sensor calibration can compromise the accuracy of your gauges, which defeats their purpose. Once everything is wired correctly and calibrated, double-check all connections before powering up your system. Test each gauge to ensure it responds properly and provides consistent, accurate readings. This preparation will give you peace of mind knowing your aftermarket gauges will serve you reliably, enhancing your driving experience and vehicle monitoring.
Frequently Asked Questions
Can Aftermarket Gauges Affect My Vehicle’s Warranty?
Installing aftermarket gauges can affect your vehicle’s manufacturer warranty if the manufacturer considers them aftermarket modifications that cause damage or void coverage. While many gauges are non-invasive, some installations might require modifications that could be seen as altering the vehicle’s original setup. Always check your warranty terms and consult your manufacturer before installing aftermarket gauges to avoid potential issues with warranty claims.
What Is the Best Placement for Aftermarket Gauges?
You should place your aftermarket gauges where gauge placement offers easy dashboard visibility, so you can monitor readings without distraction. Ideally, install them within your line of sight, such as the A-pillar or atop the dashboard, ensuring quick access while driving. Proper gauge placement keeps you informed without compromising safety, allowing you to react promptly to engine conditions and maintain *best* performance.
How Do I Calibrate Aftermarket Gauges for Accuracy?
To calibrate your aftermarket gauges for accuracy, start with sensor calibration by following the manufacturer’s instructions carefully. Use a known reference or calibration tool to confirm your readings are correct. Then, verify accuracy by comparing gauge readings against trusted instruments or data sources. Adjust the calibration settings if necessary, and repeat the process until your gauges consistently provide accurate readings for reliable performance.
Are There Wireless or Bluetooth Gauge Options Available?
Imagine a world where gauges communicate with your smartphone faster than you can say “boost!” Yes, wireless gauge options are available, and many boast Bluetooth compatibility. You can now monitor your boost, oil pressure, and more without messy wires cluttering your dashboard. This tech-savvy upgrade makes installation a breeze, giving you real-time data at your fingertips, all while keeping your car looking sleek and modern.
What Tools Are Necessary for Installation?
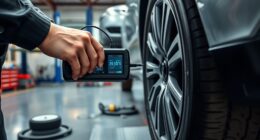
You’ll need basic tools like wire strippers, screwdrivers, and a drill for gauge wiring and installation safety. A multimeter helps verify power sources and connections, confirming proper gauge wiring. Always use insulated tools to prevent shorts or shocks. Double-check your vehicle’s manual for specific wiring diagrams, and work carefully to avoid damaging other components. Proper tools and attention to installation safety ensure your aftermarket gauges function accurately and safely.
Conclusion
Think of installing aftermarket gauges as adding the heartbeat monitor to your car’s essential signs. With a little patience and attention, you’ll keep a close eye on your engine’s health and performance. Once everything’s wired and calibrated, you’ll feel more connected to your ride, like a captain steering through clear waters. Trust the process, stay attentive, and enjoy the peace of mind knowing you’re in control of your vehicle’s vital signs every mile.