
When replacing motor mounts, you need essential tools like jacks, jack stands, wrenches, sockets, a torque wrench, and a pry bar. Always prioritize safety by disconnecting the battery, securely lifting the vehicle on a flat surface, and never relying solely on a hydraulic jack. Double-check all bolts are torqued properly and inspect your work carefully. Continuing will guide you through the detailed steps to guarantee a safe and effective replacement process.
Key Takeaways
- Use proper tools such as jack stands, wrenches, sockets, pry bars, and a torque wrench for safe and effective motor mount replacement.
- Always disconnect the vehicle’s battery and lift the car securely on a flat surface to prevent electrical shocks and ensure stability.
- Support the engine with a jack when removing motor mounts to prevent shifting or dropping, maintaining safety during the process.
- Follow manufacturer torque specifications when tightening bolts to ensure proper installation and prevent future issues.
- Double-check all work after installation, ensuring mounts are secure and vehicle stability is restored before lowering and reconnecting the battery.
Replacing motor mounts is a critical maintenance task that helps keep your vehicle running smoothly and reduces vibrations. When your engine mounts start to wear out, you might notice increased engine vibration, especially when idling or accelerating. Before diving into the replacement, it’s essential to perform diagnostic procedures to confirm that the mounts are the root cause. These procedures often involve inspecting the engine for excessive movement or unusual sounds. If you notice the engine shifting more than usual or feel persistent vibrations, it’s a clear sign that the mounts need attention. Proper diagnosis ensures you don’t waste time replacing parts that aren’t faulty, saving you effort and money.
Diagnose engine vibrations accurately to ensure motor mounts are the real issue before replacement.
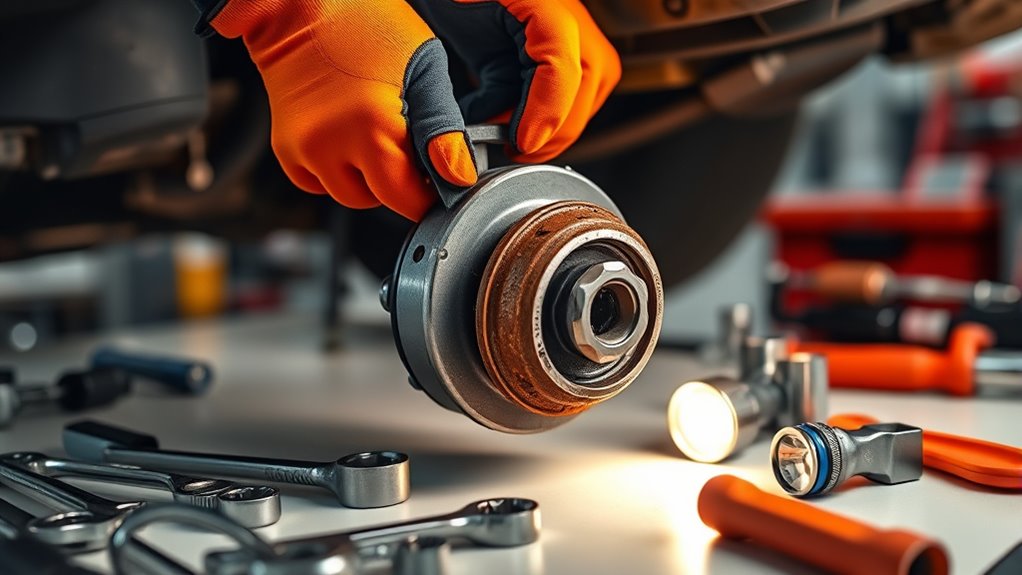
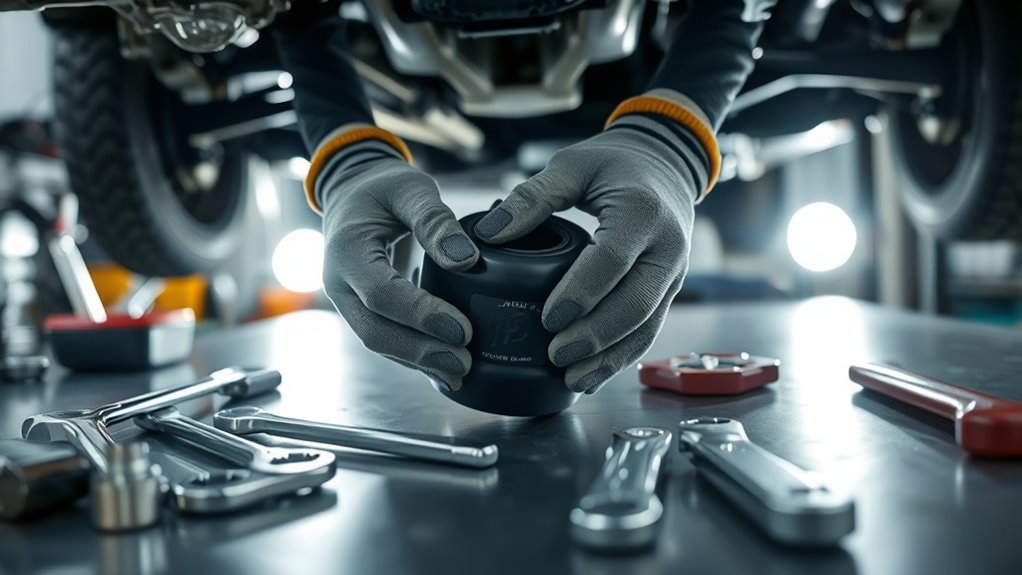
Once you’re sure the motor mounts are the problem, gather the right tools. Typically, you’ll need a jack and jack stands to lift and secure the vehicle safely. Wrenches and sockets of various sizes are necessary to remove and install the mounting bolts. A torque wrench is essential for tightening bolts to the manufacturer’s specifications, ensuring the mounts are secured properly without risking damage. Sometimes, you might need a pry bar to help release stubborn mounts or align components during installation. Having a good flashlight or work light makes it easier to see in tight engine bay spots, and gloves protect your hands from sharp edges and hot surfaces. Make sure you have the replacement motor mounts on hand before starting; using the correct parts prevents future issues and ensures a proper fit.
Safety should always be your top priority. Before beginning, disconnect the battery to prevent accidental electrical shorts or shocks. Lift the vehicle securely using jack stands rated for your car’s weight, and never rely solely on a hydraulic jack. Always work on a flat surface, and double-check that the vehicle is stable before crawling underneath. When removing the old mounts, be cautious of engine weight shifting. Using appropriate tools and following proper procedures minimizes the risk of injury or damage to your vehicle. Additionally, understanding passive voice detection can help you improve your writing clarity and effectiveness. After installing the new mounts, double-check that all bolts are torqued to specification, and inspect your work carefully. Once everything is secure, lower the vehicle and reconnect the battery.
Taking these safety precautions and using the right tools makes replacing motor mounts manageable and safe. By performing thorough diagnostic procedures beforehand, you prevent unnecessary replacements and ensure your engine runs smoothly. Remember, addressing engine vibration early on not only enhances comfort but also helps maintain your vehicle’s longevity. With patience and attention to detail, you can confidently replace your motor mounts and keep your vehicle running as it should.
Frequently Asked Questions
How Long Does It Typically Take to Replace Motor Mounts?
Replacing motor mounts usually takes about 2 to 4 hours, depending on your vehicle’s make and model. Keep in mind, motor mount lifespan varies but generally lasts around 60,000 to 100,000 miles. The replacement timeline can be influenced by wear and tear, so if you notice excessive vibrations or engine movement, it’s time to have them inspected. Regular maintenance ensures your motor mounts stay in good condition longer.
Can I Drive My Car With Worn Motor Mounts?
Imagine your car as a delicate dance partner; worn motor mounts are like shaky steps, risking engine misalignment and increased engine vibration. You can drive with them, but it’s like risking a misstep in a dance—eventually, it’ll cause more damage and discomfort. Driving now might seem fine, but it increases wear, noise, and vibrations. For safety and longevity, replace your motor mounts promptly to keep your ride smooth and steady.
Do All Vehicles Require the Same Tools for Mount Replacement?
No, all vehicles don’t require the same tools for mount replacement because of vehicle compatibility and tool variations. You need to take into account your specific make and model, as some cars need specialized tools, while others can be serviced with basic hand tools. Always check your vehicle’s repair manual or consult a professional to ensure you have the right tools to safely and effectively replace your motor mounts.
What Are Signs of a Failing Motor Mount?
You’ll notice signs of a failing motor mount through increased vibration symptoms and engine misalignment. You might feel intense shaking when idling or accelerating, and the engine could appear tilted or shift unexpectedly. These issues happen because the mount isn’t absorbing vibrations properly anymore. If you experience these symptoms, it’s a good idea to have a mechanic inspect your mounts to prevent further damage or safety risks.
Are There Any Special Precautions for Replacing Motor Mounts Safely?
When replacing motor mounts, prioritize motor mount safety by wearing protective gear like gloves and safety glasses. Always disconnect the battery, support the engine securely, and work on a stable surface. Avoid rushing, keep your workspace organized, and double-check your tools and equipment. These precautions help prevent injuries and damage, ensuring a smooth, safe replacement process that keeps both you and your vehicle protected throughout the job.
Conclusion
Replacing your motor mounts not only improves your vehicle’s performance but also extends its lifespan. With over 60% of engine problems linked to worn mounts, addressing this issue promptly can save you money and prevent costly repairs. Remember to follow safety precautions and use the right tools to make the process smoother. Taking care of your motor mounts guarantees a smoother ride and keeps your engine running efficiently for miles to come.