To install a cold air intake on your Dodge Avenger or Dart, start by disconnecting the negative battery cable for safety. Remove the factory intake components, including the engine cover and existing ducting. Attach the heat shield and ducting, then connect the new intake tube and high-flow filter, securing all clamps tightly. Reassemble everything, ensuring no interference with engine parts. For a smooth upgrade and more detailed steps, keep exploring the full installation process.
Key Takeaways
- Disconnect the negative battery cable and remove the factory intake components following vehicle-specific instructions.
- Install the heat shield and ducting, ensuring proper sealing and clearance from engine parts.
- Attach the high-flow air filter and connect the intake tube securely to the turbo or throttle body.
- Tighten all clamps and hoses to factory torque specifications, verifying no interference or leaks.
- Reassemble the heat shield, reconnect the battery, and perform a visual check before starting the engine.

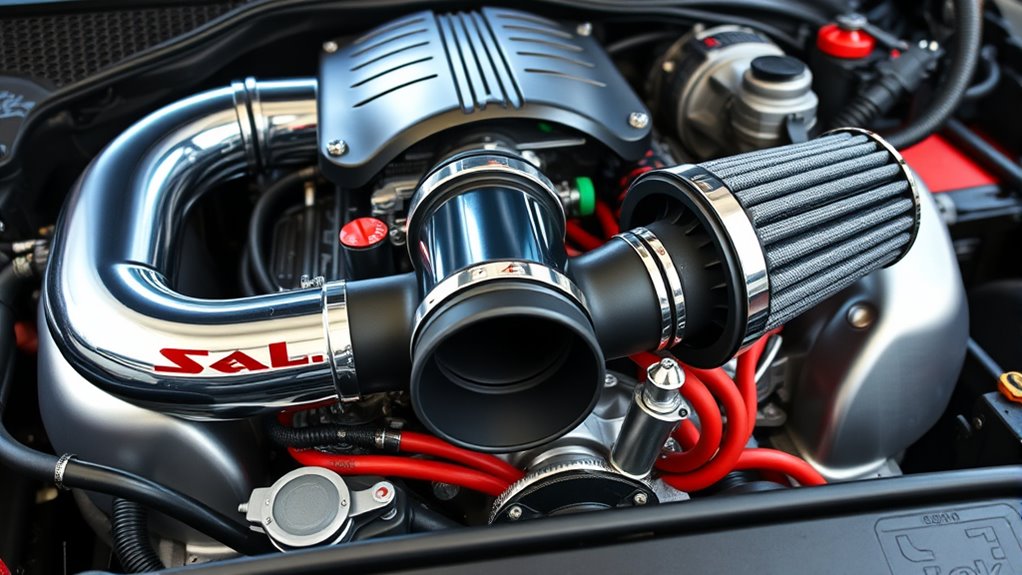
K&N Cold Air Intake System: High-Flow Air-Filter, Increase Performance & Horsepower: Compatible with 2012-2014 CHRYSLER 200; 2012-2014 DODGE Avenger, 69-2549TS
- Horsepower and Torque Boost: Guaranteed increase in horsepower and torque
- Enhanced Engine Sound: Engine growls on acceleration, quiets at speed
As an affiliate, we earn on qualifying purchases.
As an affiliate, we earn on qualifying purchases.
Preparing Your Vehicle for Installation
Before beginning the installation, you should prepare your vehicle to guarantee safety and a smooth process. Start by disconnecting the negative battery cable to prevent electrical issues. Next, remove the engine cover and the stock intake, including the resonator tube and intake ducting, following your Dodge Dart’s specific instructions. Make sure to check the fit of the heat shield and intake tube to identify if any modifications are needed before mounting the K&N Air Intake or other aftermarket air filters. Isolate the intake to avoid debris. Gather necessary tools like screwdrivers and socket wrenches. Before purchasing any parts, visit our forum platform, which includes forum links, to verify compatibility and purchase through links on our site. This way, you can earn an affiliate commission while ensuring you make an informed choice.
Removing the Factory Intake Components
To remove the factory intake components, start by disconnecting the negative terminal of the battery and removing the engine cover. Then, loosen and detach the hoses, clamps, and screws holding the stock air intake and ducting in place. Carefully lift out the entire assembly, keeping track of all hardware for reinstallation. For optimal engine performance, consider inspecting the intake pathway for debris or blockages during this process, as airflow efficiency can significantly impact vehicle response. Additionally, during reinstallation, ensure that all connections are secure to prevent potential fraud risks or air leaks that could affect engine operation. Performing a thorough inspection of the intake system aligns with best practices for technical SEO and maintaining overall vehicle health. Checking for air leaks and ensuring proper sealing can help maximize your vehicle’s power and efficiency. Moreover, inspecting the filter condition can help maintain consistent airflow and prolong the lifespan of your intake system.
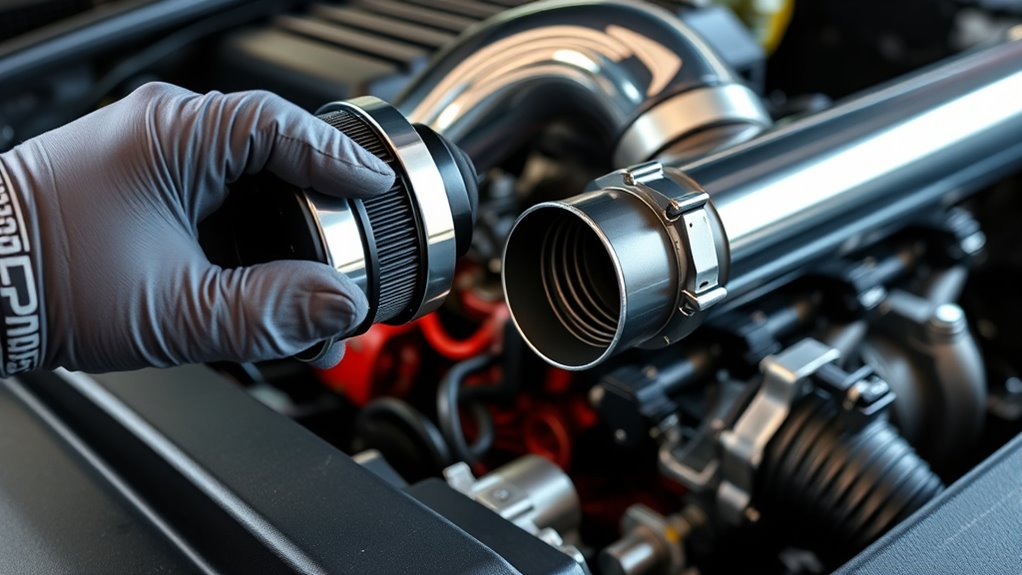
Disconnecting Intake Hoses
Start by locating the clamps securing the factory intake tube to the turbo or throttle body. Use a screwdriver or socket to loosen these clamps carefully. Once loosened, gently detach the intake hoses from the intake tube and connected sensors or vent fittings, noting their positions for easier reinstallation. Be cautious not to damage plastic tabs or mounting points when removing any brackets or clips holding the intake assembly. If your intake includes a mass airflow sensor, unplug its wiring harness before removing the intake tube. Keep all hardware and grommets organized for reassembly or upgrade. Here’s a quick reference:
| Step | Tool Needed | Key Action |
|---|---|---|
| Loosen intake clamps | Screwdriver or socket | Release intake tube from turbo |
| Detach hoses | Hands or pliers | Remove intake hoses |
| Unplug sensors | None | Disconnect sensors |
Removing Factory Components
Removing the factory intake components involves several straightforward steps to guarantee a proper and safe removal. First, disconnect the negative battery cable to prevent electrical issues. Then, loosen and remove the clamps securing the stock air intake tube to the turbo or throttle body, carefully disconnecting any attached hoses or sensors. If needed, remove the engine cover to access the intake assembly. Detach the stock air filter box from its mounting points, then disconnect the resonator tube or ducting from the factory air box by unclipping or unscrewing it from the brackets. Carefully lift out the entire factory intake assembly, including the air filter and resonator. Keep track of how hoses and clips connect, as this will simplify reinstallation. Remember, the platform includes forum software, so double-check your work if you need guidance. Additionally, understanding the best modern toilet can help in planning your bathroom upgrades for a more comfortable space. To ensure compatibility, verify the most common intake sizes before installing aftermarket parts. Also, inspecting the air intake system for any damage or blockages can prevent future issues and optimize performance. Moreover, checking the airflow path can ensure your vehicle runs efficiently after modifications.
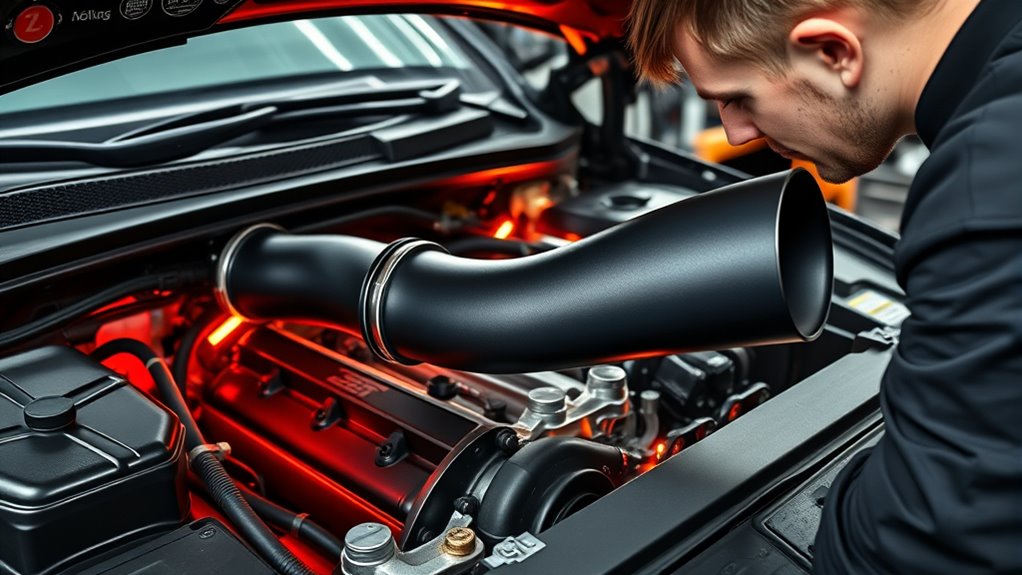
Installing the Heat Shield and Air Ducting

Installing the heat shield and air ducting is straightforward and can typically be done in about 20 minutes without removing the entire front end. Start by removing the top piece of the air ducting and side shield, which is simple and doesn’t require full front-end removal. The heat shield features a large low porthole, designed to direct cold air from the grille into the wheel well, improving airflow over the older design. Attach the shield using the grommeted opening on the bottom of the filter box, which connects to the existing resonator tube hole. If you’re using a performance hood or additional ducting, you might need to cut the rectangular section out of the filter box with a Dremel. This setup enhances cold air intake, airflow, and throttle response with minimal effort. Additionally, integrating automation technologies in vehicle systems can further optimize airflow management and engine performance. Proper installation and sealing of the components are essential to prevent unfiltered air from entering the engine bay, which aligns with best practices for vehicle safety and maintenance. Ensuring the components are tightly sealed also helps maintain optimal engine efficiency and prevents debris from entering the intake system.
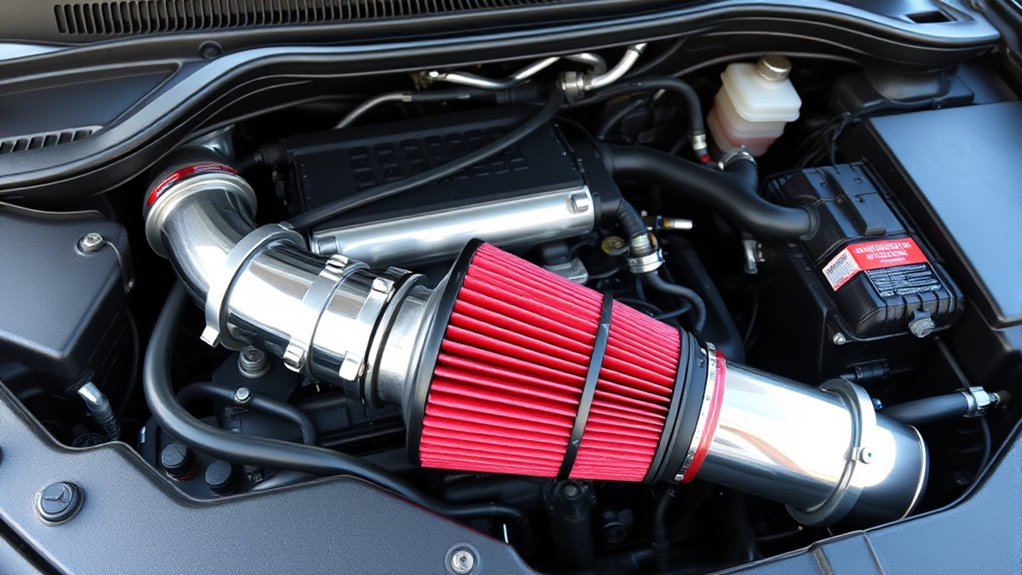
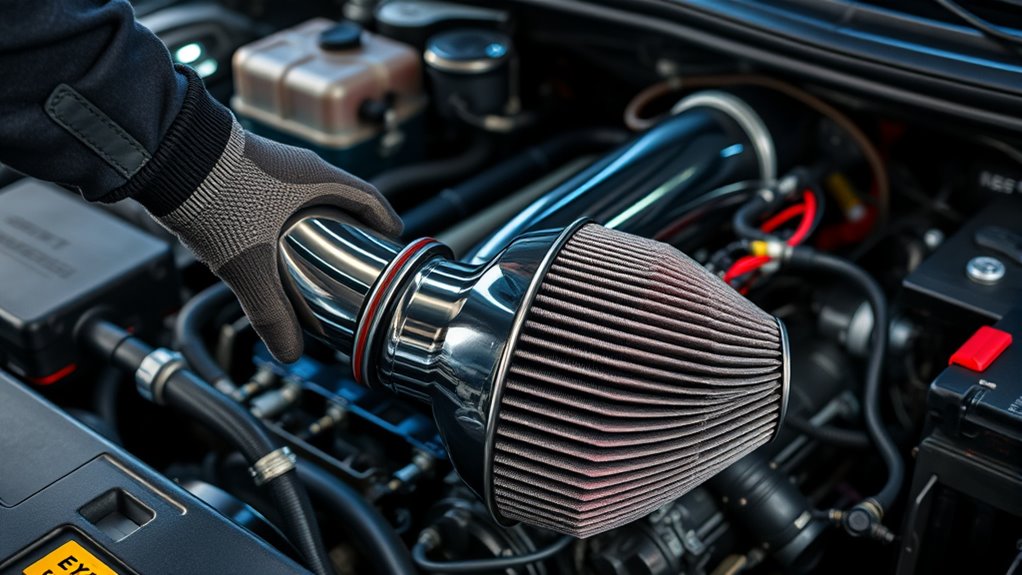
Connecting the Intake Tube and Air Filter

To connect the intake tube and air filter properly, begin by attaching the high-flow air filter to the end of the intake tube, securing it with a hose clamp to prevent any air leaks. Next, connect the intake tube to the turbo or throttle body using the provided silicone hose, making sure it fits snugly and tightening the clamps. Install vent fittings into the intake tube as specified, attaching any vacuum or breather hoses needed. Carefully align the intake tube within the heat shield, ensuring it doesn’t contact other engine components or the hood. Double-check all clamps and connections, tightening them securely to guarantee maximum airflow and prevent unfiltered air from entering the engine. Proper connections are essential for efficient performance and engine protection. Additionally, ensuring the correct fit of all components can help maintain engine health and optimize airflow. Paying attention to installation details can also prevent potential issues and enhance overall vehicle performance.
Securing All Clamps and Hoses
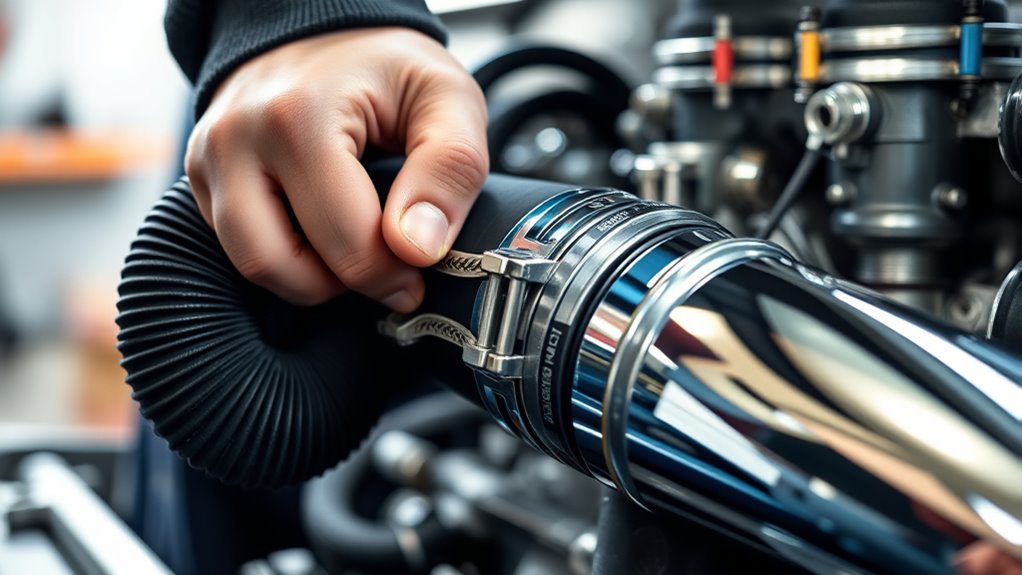
Ensuring all clamps and hoses are properly secured is essential for peak engine performance. Tighten all clamps securing the intake hose and filter to factory specifications, usually between 25-30 inch-pounds, to prevent air leaks. Double-check that all hoses attached to the intake system are fully seated and locked onto their fittings, maintaining proper airflow. Use a torque wrench if available to apply consistent tightness and avoid damaging plastic components from over-tightening. Make sure silicone couplings are properly aligned and seated at each connection before tightening clamps, minimizing gaps and leaks. Regularly inspect and re-tighten all clamps and hoses during routine maintenance to keep your intake system secure, airtight, and functioning at its best. The incident highlighted the reliance on cloud services and potential vulnerabilities that can affect vehicle performance if the intake system is compromised. Maintaining proper clamp tension is crucial for preventing unnecessary air infiltration and ensuring optimal engine efficiency. Recognizing the importance of system integrity helps prevent issues that could lead to engine damage or reduced efficiency over time. Additionally, proper hose connections are vital for maintaining the correct air-fuel mixture necessary for engine combustion, and selecting the right filter type can significantly impact overall system performance.
Reassembling and Final Checks

Before wrapping up your cold air intake installation, make sure all components—such as the heat shield, intake tube, and air filter—are securely reinstalled and properly aligned. This guarantees ideal airflow and prevents leaks. Next, reconnect the negative battery terminal and double-check that all clamps and hoses are tight. This step helps avoid air leaks that could affect performance. Verify that the intake system doesn’t interfere with any moving parts or engine cover latches. Once everything’s reassembled, start your engine and listen for unusual sounds or air leaks around the intake. Additionally, regional resources can provide guidance on maintaining vehicle performance in your area. Engaging in effective communication with a trusted mechanic or community can help identify potential issues early. Performing a visual inspection after initial use can also reveal any loose connections or debris that may have entered during installation, ensuring your cold air intake functions smoothly. Regular air filter maintenance can also improve overall engine efficiency and longevity. Considering Honda Tuning techniques, such as ECU remapping or exhaust upgrades, can further optimize your vehicle’s performance over time.
Tips for Easy Installation and Troubleshooting
Using the right tools and prioritizing safety makes installation smoother and reduces risks. Follow each step carefully, and don’t hesitate to check online resources if you hit a snag. Double-check all connections and components to guarantee everything fits correctly and performs well. Incorporating proper maintenance practices can also help ensure your cold air intake system remains effective over time.
Proper Tool Selection and Safety
Choosing the right tools and prioritizing safety are essential steps for a smooth cold air intake installation. Using the correct size screwdrivers, ratchets, and socket sets prevents damage to components and makes the job easier. Always wear safety gloves and eye protection to avoid injuries from sharp edges or debris. Before starting, disconnect the negative terminal of the battery to eliminate electrical hazards. Follow the manufacturer’s instructions carefully, and use recommended tools to prevent stripping clips, hoses, or mounts. If you encounter resistance, don’t force parts; instead, consult online forums or support resources for troubleshooting tips. Being prepared with proper tools and safety gear guarantees a smoother installation process and reduces the risk of mistakes or injuries.
Step-by-Step Installation Guidance
Starting your installation with a clear plan can make the process much smoother. Begin by disconnecting the negative battery terminal to prevent electrical issues. Remove the engine cover to access the stock intake system easily. Carefully detach the intake hose by loosening the clamps, then remove the air box and resonator components following the manufacturer’s instructions. Install the heat shield by cutting the provided edge trim, mounting the standoffs, and securing it with the supplied brackets, ensuring proper clearance. Attach the silicone intake hose to the turbo inlet or throttle body, connect the vent fittings, and slide the new intake tube through the heat shield. Tighten all clamps securely. Reassemble any removed parts, reconnect the battery, and double-check all connections for tightness and proper alignment to prevent leaks.
Common Troubleshooting Tips
To guarantee a smooth installation, it’s essential to pay close attention to common troubleshooting tips that can save time and prevent issues. First, ensure all hoses and clamps are securely tightened to prevent air leaks, which can affect performance. Double-check the orientation of the heat shield and intake tube to avoid interference with engine components. Follow the manufacturer’s instructions carefully, especially when trimming or modifying parts like the engine cover or filter box. Use the right tools, such as a Dremel or screwdriver, for precise trimming and secure fastening. If you encounter fitment issues, verify that the intake kit matches your specific vehicle model and year. Consulting community forums can also provide helpful troubleshooting advice and tips from experienced DIYers.
Performing Routine Maintenance on Your Intake System
Regular maintenance of your intake system is essential to guarantee ideal engine performance and longevity. Inspect your intake filter regularly for dirt and debris, and clean or replace it as recommended—usually every 30,000 miles or sooner in dusty conditions. Use a high-quality air filter cleaner and a washable filter maintenance kit, especially if you have a reusable K&N filter, to ensure optimal airflow and filtration. Periodically check all hose connections and clamps for tightness to prevent air leaks that can cause engine hesitation or rough idling. Clear any debris or obstructions from the intake pathway, including the shield and filter box, to maintain proper cold air flow and prevent potential damage. Follow the manufacturer’s instructions for re-oiling washable filters to preserve performance and protect your sensors.
Enhancing Performance With Additional Upgrades
Enhancing your vehicle’s performance goes beyond simply installing a cold air intake; it involves adding complementary upgrades that maximize airflow and power. Upgrading components like the intercooler or hood ducting can improve cold air delivery and overall engine efficiency. Removing restrictive ducting or resonators, as recommended by manufacturers, allows for better airflow and potential power increases. Pairing your cold air intake with performance ECU tuning helps optimize air-fuel ratios, releasing even more horsepower and torque. These modifications work together to boost throttle response, engine sound, and driving excitement. By combining these upgrades, you’ll get the most out of your cold air intake and enjoy a more responsive, powerful ride.
- Upgraded intercooler
- Hood ducting enhancements
- ECU tuning
- Removing restrictive resonators
Frequently Asked Questions
How Much HP Will Cold Air Intake Add?
You wonder how much horsepower a cold air intake can add. Typically, you’ll see a modest increase of about 5 to 15 horsepower, depending on your vehicle and setup. For your Dodge Dart or Avenger, expect around 5 to 10 HP gains. Keep in mind, the real benefits are often in improved throttle response and sound, not huge horsepower jumps. Your driving experience will feel more responsive overall.
How Much Does a Shop Charge to Install Cold Air Intake?
You might worry about high installation costs, but shops usually charge between $100 and $300, depending on your vehicle’s complexity. Installation takes about 1 to 2 hours, with labor costing $50 to $150 per hour. Some shops include the fee in the kit price, saving you money. Doing it yourself is an option if you’re comfortable, but professional installation guarantees proper setup and can prevent future issues.
Do You Need an ECU Tune for a Cold Air Intake?
You don’t necessarily need an ECU tune for a cold air intake, but it’s highly recommended if you want the most performance gains. Installing a cold air intake improves sound and throttle response, but without a tune, horsepower gains are modest, and you might encounter check engine lights or drivability issues. An ECU tune optimizes airflow and emissions, helping your vehicle run smoothly and get the best possible performance from the upgrade.
What Do I Need to Do After Installing a Cold Air Intake?
After installing a cold air intake, you need to double-check all hose clamps and connections to guarantee there are no air leaks. Make sure there’s proper clearance around the intake to prevent vibrations or contact with other engine parts. Clear out any debris from the intake pathway, then reconnect your battery. Use an OBD-II scanner or tuner to reset the ECU if needed. Finally, take a test drive, listening for unusual noises or vibrations to confirm everything works smoothly.
Conclusion
Installing a cold air intake can boost your Dodge Avenger or Dart’s performance and efficiency. Did you know that a properly installed cold air intake can increase horsepower by up to 10%? By following these steps carefully, you’ll enjoy better throttle response and fuel economy. Just remember to perform routine maintenance to keep everything running smoothly. With a little effort, you’ll unleash your car’s full potential and enjoy a more exhilarating driving experience.