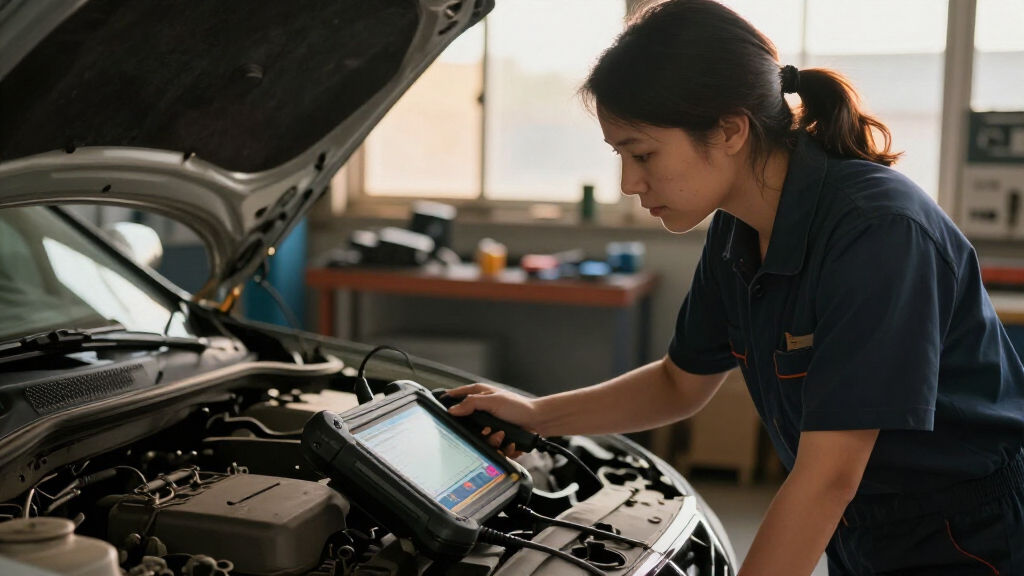

This guide explains how to operate a car diagnostic scanner to identify and clear engine error codes. It is designed for vehicle owners with little or no experience using diagnostic tools. You will learn how to connect the scanner, interpret codes, and reset your vehicle’s computer. Completing these steps will help you diagnose common issues and potentially save money on repairs.

Get business pricing on garage and car supplies
- Business-only prices and quantity discounts
- Tax-exempt purchasing
- Multiple users, one account, clear invoices

ANCEL AD310 Classic Enhanced Universal OBD II Scanner Car Engine Fault Code Reader
- ✔ Supported Protocols: KWP2000, J1850 VPW, ISO9141, J1850 PWM, CAN
- ✔ Vehicle Compatibility: 1996+ US, 2000+ EU, Asian cars, light trucks, SUVs
- ✔ Dimensions: 8.9 x 6.9 x 1.4 inches

MOTOPOWER MP69033 Car OBD2 Scanner Code Reader Engine Fault Diagnostic Tool
- ✔ Protocols Supported: 9 protocols compatible with most 1996+ US, EU, and Asian vehicles
- ✔ Display: 2.8-inch LCD with backlight and contrast adjustment
- ✔ Power Source: Vehicle’s OBDII port (no battery required)

FOXWELL NT301 OBD2 Scanner with Live Data and Diagnostic Code Reading
- ✔ Display: 2.8-inch color screen
- ✔ Protocols Supported: KWP2000, J1850 VPW, ISO9141, J1850 PWM, CAN
- ✔ Compatibility: Most 1996+ gasoline cars, light trucks, SUVs, many 2000+ models
Difficulty: Beginner | Time: 30-60 minutes
What You’ll Need
Tools & Materials:
- Car diagnostic scanner (OBD-II scanner)
- Smartphone or computer (if applicable)
- Vehicle owner’s manual
Knowledge:
- Basic understanding of vehicle components
- Ability to locate the OBD-II port
Ensure your vehicle is parked on a flat surface with the engine off before starting. Charge your device or ensure batteries are fresh if using a handheld scanner.
ANCEL AD310 Classic Enhanced Universal OBD II Scanner Car Engine Fault Code Reader
The ANCEL AD310 stands out for its straightforward design, supporting all major OBDII protocols, and its broad vehicle compatibility. It’s perfect for users who want quick, reliable engine fault code readings without fuss. Compared to the FOXWELL NT301, it lacks advanced live data and system tests, but its compact form makes it ideal for those needing portability or occasional diagnostics. However, its focus on emission-related codes means it’s less useful for diagnosing other engine or safety systems, and it won’t work with older OBDI vehicles.
Pros:
- Supports all OBDII protocols and extensive vehicle compatibility
- Compact, lightweight, and portable for easy transport
- Provides fast, accurate diagnosis and clears trouble codes quickly
Cons:
- Only diagnoses emission-related issues, not other engine problems
- Requires vehicles with OBDII interface; incompatible with OBDI systems
- Limited to engine fault codes, no ABS/SRS or transmission diagnostics
Best for: Home mechanics and car owners who want a simple, portable scanner for basic engine diagnostics
Not ideal for: Professional mechanics or users needing full system diagnostics, ABS, SRS, or transmission codes
Bottom line: A reliable, user-friendly choice for basic engine diagnostics and portability, though limited in system scope.
“A reliable, user-friendly choice for basic engine diagnostics and portability, though limited in system scope.”
MOTOPOWER MP69033 Car OBD2 Scanner Code Reader Engine Fault Diagnostic Tool
The MOTOPOWER MP69033 offers a compelling balance of simplicity and versatility. Its support for nine protocols ensures compatibility with most 1996+ vehicles across US, EU, and Asian markets. The 2.8-inch LCD with backlight makes it easy to operate, especially for those who prefer straightforward interfaces. Compared with the FOXWELL NT301, it lacks advanced features like live data streaming and system tests, but it’s a strong choice for basic diagnostics and quick troubleshooting. Its limitations include inability to read ABS, airbags, or oil service codes, which could be a drawback for those seeking comprehensive coverage.
Pros:
- Supports multiple protocols and languages for broad vehicle compatibility
- Easy to use with a clear LCD display and straightforward connection process
- No batteries needed, powered directly from the vehicle’s OBDII port
Cons:
- Cannot read or clear ABS, Airbag, or Oil Service Light codes
- Limited to basic engine diagnostics, no advanced system tests
- Display and features may feel basic for experienced users
Best for: Budget-conscious car owners seeking broad vehicle support with simple functionality
Not ideal for: DIYers or professionals needing advanced diagnostics, ABS, or safety system codes
Bottom line: A solid, affordable choice for general diagnostics, especially for users who prioritize simplicity and broad vehicle compatibility.
“A solid, affordable choice for general diagnostics, especially for users who prioritize simplicity and broad vehicle compatibility.”
FOXWELL NT301 OBD2 Scanner with Live Data and Diagnostic Code Reading
The FOXWELL NT301 is designed for users who want more than basic fault codes. Its support for live sensor data, real-time graphing, and additional tests on O2 sensors and EVAP systems makes it a standout for DIYers and hobbyists. The 2.8-inch color screen enhances readability, though it may be challenging in bright sunlight. Compared to the ANCEL AD310, it offers a broader diagnostic scope and free lifetime updates, but it’s slightly more expensive and requires vehicle compatibility verification. It’s well-suited for those who want ongoing access to updates and more detailed data for troubleshooting complex issues.
Pros:
- Easy to use with plug-and-play operation and a clear, colorful interface
- Supports advanced diagnostics including live data and emissions testing
- Lifetime free updates keep the tool current without additional costs
Cons:
- Requires vehicle compatibility check before purchase
- Limited to 1996+ vehicles, not suitable for older models
- Small screen may be less visible in bright outdoor conditions
Best for: DIYers and car owners seeking comprehensive diagnostics and real-time data
Not ideal for: Casual users or those with older vehicles not compatible with 1996+ standards
Bottom line: A versatile and future-proof scanner that balances ease of use with advanced features, ideal for committed DIYers.
“A versatile and future-proof scanner that balances ease of use with advanced features, ideal for committed DIYers.”
As an Amazon Associate we earn from qualifying purchases.
Before You Start
Check your vehicle’s manual to locate the OBD-II port, usually under the dashboard on the driver’s side. Confirm that your scanner is compatible with your vehicle’s make and model. Avoid disconnecting or damaging any vehicle wiring during the process.
Step-by-Step Instructions
Step 1: Locate the OBD-II port
Find the OBD-II port in your vehicle, typically beneath the dashboard on the driver’s side. Look near the steering column or under the glove box if not immediately visible.
Tip: Use your vehicle’s manual if you have trouble locating the port. It’s a small, rectangular connector with 16 pins.
Check: You can see the port and identify it as the connection point for the scanner.
Step 2: Connect the scanner to the vehicle
Insert the diagnostic scanner into the OBD-II port firmly until it clicks into place. Confirm that the connection is secure.
Tip: If using a wireless scanner, turn on Bluetooth or Wi-Fi on your device before connecting to the scanner.
Check: The scanner is properly connected, and any indicator lights on the device turn on or show connectivity status.
Step 3: Turn on the vehicle’s ignition
Set the ignition switch to the ON position without starting the engine. This supplies power to the vehicle’s computer and the scanner.
Tip: Do not start the engine unless your scanner instructions specify otherwise. If your scanner has a separate power button, turn it on now.
Check: Scanner indicates it has power and is ready to communicate with the vehicle’s systems.
Step 4: Power on and establish connection with the scanner
Follow your scanner’s instructions to turn it on and connect to the vehicle. Select options like ‘Read Codes’ or similar to begin communication.
Tip: Ensure your device is close enough for wireless scanners if applicable, and wait for the device to establish a stable connection.
Check: The scanner displays detected trouble codes or confirms a successful connection.
Step 5: Read the trouble codes from the vehicle
Select the ‘Read Codes’ or equivalent option on your scanner to retrieve stored error codes from the vehicle’s ECU.
Tip: Note down the codes or take a photo of the screen for reference. Codes are typically alphanumeric, such as P0123.
Check: The scanner displays one or more trouble codes along with their descriptions or a code list for interpretation.
Step 6: Interpret the trouble codes
Use the scanner’s built-in database, manual, or online resources to understand what each code indicates about your vehicle’s issues.
Tip: Common codes relate to engine sensors, emissions, or other systems. Look for codes marked as ‘Pending’ or ‘Stored’ for active problems.
Check: You understand the general issue indicated by each code, allowing you to decide on repairs or further diagnosis.
Step 7: Clear the trouble codes (if desired)
Select the ‘Clear Codes’ or ‘Erase Codes’ option on your scanner to reset the vehicle’s ECU trouble codes.
Tip: Only clear codes after addressing the underlying problem; otherwise, the warning light will come back immediately.
Check: The scanner confirms that codes are cleared, and the vehicle’s dashboard warning lights turn off.
Step 8: Turn off the vehicle and disconnect the scanner
Switch off the ignition and carefully unplug the scanner from the OBD-II port.
Tip: Store the scanner properly for future use, and keep a record of the codes for reference or repair quoting.
Check: The scanner is disconnected, and your vehicle appears normal without warning lights.
Common Mistakes to Avoid
- Connecting the scanner to the wrong port or an incompatible port. — Double-check your vehicle’s manual and the scanner’s compatibility before connecting.
- Failing to turn on the ignition or power the vehicle correctly. — Ensure the ignition is in the ON position before attempting to read codes.
- Clearing codes before fixing the underlying problem. — Only clear codes after repairs are made; otherwise, warning lights may reappear immediately.
Troubleshooting
Problem: Scanner cannot establish connection with the vehicle.
Solution: Check the port connection, ensure the vehicle’s ignition is on, and verify scanner compatibility.
Problem: No codes are displayed even though check engine light is on.
Solution: Try turning the ignition off and on again, clear codes, or use a different scanner if available.
Problem: Scanner indicates communication error.
Solution: Inspect the port for debris or damage, restart the scanner, or update scanner firmware if possible.
What Success Looks Like
You successfully retrieve and understand your vehicle’s trouble codes, clear them if appropriate, and confirm the warning lights are off. The scanner’s display should show no error codes after clearing, and your vehicle runs normally without warning indicators.
Next Steps
After reading codes, research the issues indicated or consult a mechanic if needed. Perform repairs or replacements based on the codes, then re-scan to verify the fixes. Keep your scanner handy for future diagnostics and regular vehicle maintenance.
Frequently Asked Questions
Can I use any OBD-II scanner on my vehicle?
Most vehicles manufactured after 1996 use the standard OBD-II protocol. Check your vehicle’s manual or the scanner’s compatibility list to confirm suitability.
Do I need special skills to interpret the trouble codes?
Basic understanding of vehicle systems helps, but most scanners provide code explanations. Use online resources or manuals to understand what each code means.
Is it safe to clear codes without fixing the problem?
Yes, but only do so temporarily. Clearing codes without repairing the underlying issue can cause ongoing problems or damage to your vehicle.
How often should I scan my vehicle?
Scan your vehicle when warning lights appear, before long trips, or during regular maintenance to catch issues early.
Fall Picks
fall essentials
As an affiliate, we earn on qualifying purchases.