
To wire and install auxiliary lighting on your off-road vehicle, start by planning your circuit path from the battery to the switches and lights, ensuring you use high-quality, appropriately rated wiring. Install inline fuses near the battery for safety, and consider using relays to handle higher currents and protect your switches. Securely mount your lights and wiring using heavy-duty brackets, then test everything before hitting the trails. Continuing will help you master the details for a reliable, safe setup.
Key Takeaways
- Plan the circuit path from the battery to switches and lights, ensuring proper wiring and high-quality rated components.
- Choose suitable switches, such as toggle, rocker, or relay systems, for reliable control and electrical protection.
- Mount auxiliary lights securely using durable brackets, and adjust angles for optimal illumination and reduced glare.
- Install inline fuses near the battery to protect circuits from overloads and prevent electrical damage.
- Test the system thoroughly, confirming switches operate correctly and wiring is secured for safety and durability.
Adding auxiliary lighting to your vehicle can considerably improve visibility and safety, especially during nighttime or off-road driving. Proper wiring and installation are essential to guarantee your lights function effectively and safely. One of the key considerations is selecting the right switching mechanisms; these control how and when your auxiliary lights turn on and off. You might opt for simple toggle switches, rocker switches, or more advanced relay systems. Each has its advantages: toggle switches are straightforward and easy to operate, rocker switches offer a sleek look and easy access, while relay systems provide added protection for your electrical system and ensure that your lights operate smoothly without overloading your vehicle’s wiring.
Choosing the right switch type ensures reliable, safe auxiliary lighting operation.
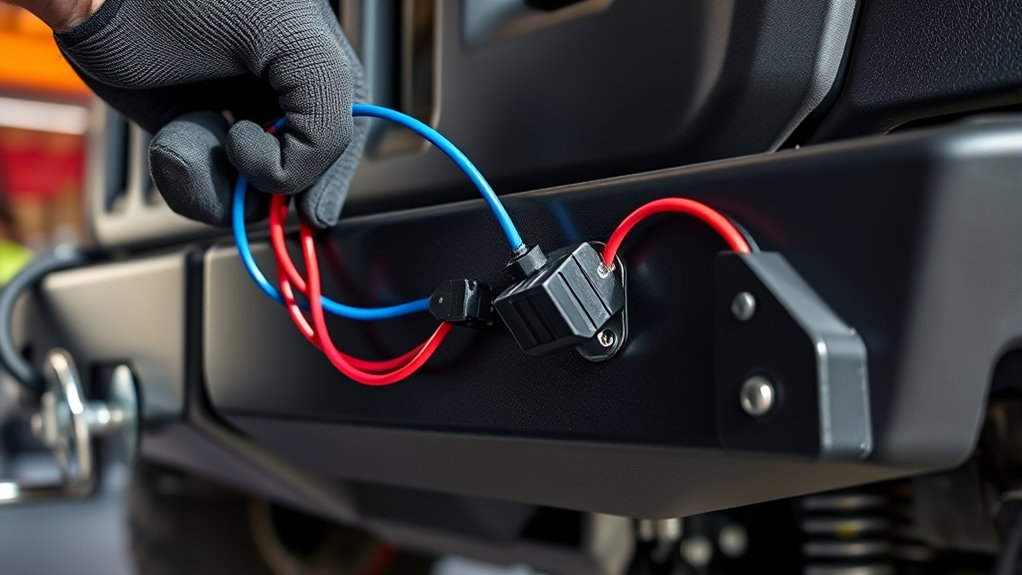
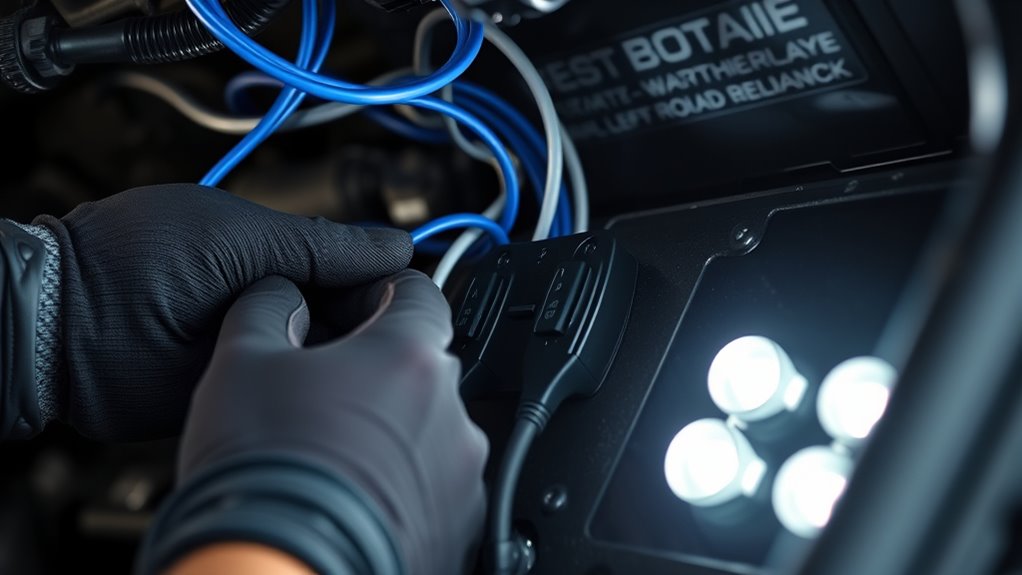
When setting up your auxiliary lighting, pay close attention to mounting techniques. Secure mounting not only prevents vibrations and damage during off-road adventures but also guarantees optimal light output. Depending on your vehicle and the type of lights you choose, you might use brackets, clamps, or custom mounts. Heavy-duty brackets made from stainless steel or aluminum are popular choices because they withstand harsh conditions and resist corrosion. Make sure your mounts are sturdy and positioned correctly to maximize illumination without interfering with vehicle components or visibility. Proper mounting also involves considering the angle and height of the lights; adjust them to cover the widest possible area without blinding other drivers or causing glare.
Before wiring your auxiliary lights, plan your setup carefully. Map out the circuit path from your power source, typically the vehicle’s battery, to your switches and then to the lights themselves. Use high-quality wiring rated for your lights’ wattage to prevent overheating or electrical failures. Incorporate inline fuses close to the battery to protect against short circuits or overloads. When connecting switches, ensure they are wired correctly to control the circuit without creating a direct connection to the battery that could drain power when the vehicle is off. Using relays in your wiring setup can help manage higher current loads and extend the lifespan of your switches. Additionally, top-rated anime films can provide inspiration for your off-road adventures or vehicle customization projects.
Always double-check your wiring and mounting work before turning on the power. Test your auxiliary lights in a safe environment to confirm they operate correctly and that the switches control the lights as intended. Properly secured wiring and mounts not only prolong the lifespan of your auxiliary lighting system but also contribute to your safety on the trail. Taking the time to understand switching mechanisms and mounting techniques guarantees your lights are reliable, effective, and ready for any off-road adventure.
Frequently Asked Questions
What Tools Are Best for Auxiliary Light Installation?
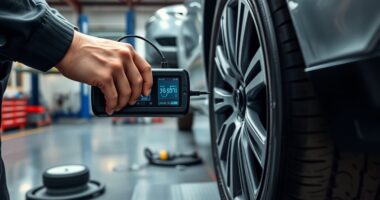
You’ll need basic tools like wire strippers, crimpers, screwdrivers, and a drill for auxiliary light installation. A multimeter helps with power supply considerations, ensuring correct voltage and circuit safety. When selecting LED color options, keep in mind the wiring gauge and relay compatibility. These tools make it easier to connect the lights securely and safely, giving you reliable illumination and customizing your off-road vehicle’s look and performance.
How Do I Choose the Right Auxiliary Lighting for My Vehicle?
They say, “Look before you leap,” and that applies here. To choose the right auxiliary lighting, consider your needs first. Decide on light color options—warm for comfort or cool for visibility—and match them to your driving conditions. Also, weigh power consumption considerations to avoid draining your vehicle’s battery. Pick a quality light that balances brightness, durability, and efficiency, ensuring safe and effective off-road adventures.
Can Auxiliary Lights Be Installed on Any Vehicle?
Auxiliary lights can be installed on most vehicles, but you need to check vehicle compatibility and available mounting options first. Some vehicles may have limited space or specific wiring requirements. You should verify that the lights fit your vehicle’s size and shape, and confirm the mounting points are secure. With the right fit and mounting options, you can enhance your vehicle’s visibility and off-road performance easily.
Are There Legal Restrictions on Auxiliary Lighting?
Yes, there are legal restrictions on auxiliary lighting. You need to adhere to lighting regulations that specify color, brightness, and placement of auxiliary lights. Some areas restrict the use of certain colors or require lights to be turned off on public roads. Check local laws before installation to avoid fines or vehicle issues. Always ensure your auxiliary lights conform to legal restrictions to stay safe and avoid penalties.
How Do I Troubleshoot Wiring Issues With Auxiliary Lights?
To troubleshoot wiring issues with your auxiliary lights, start by checking the ground wiring to verify it’s secure and free of corrosion. Next, test the relay—listen for clicking when you turn on the switch, and swap it with a known good relay if needed. Use a multimeter to verify power flow and identify any faults. This approach helps pinpoint issues quickly and keeps your lights functioning properly.
Conclusion
Now that you’ve learned how to wire and install auxiliary lighting, you’re ready to light up the trail like a beacon in the night. Remember, proper wiring is the backbone of a safe and effective setup—think of it as the nervous system that keeps your lights shining bright. With patience and attention to detail, you’ll turn your off-road vehicle into a shining star, guiding your adventures safely through the darkness.