
To install a performance chip, start by ensuring your vehicle is compatible and locate the OBD-II port, usually under the dashboard. Gather your tools, prepare a clean workspace, and turn off and cool your vehicle before connecting the chip securely according to the manufacturer’s instructions. After installation, run diagnostics to check for errors, then take your vehicle for a test drive to assess improvements. Keep exploring for detailed steps to maximize your installation success.
Key Takeaways
- Verify vehicle compatibility and locate the correct OBD-II port before beginning installation.
- Gather necessary tools, ensure workspace is clean, and read manufacturer instructions thoroughly.
- Carefully connect the performance chip to the OBD-II port, securing it properly to prevent disconnection.
- Perform diagnostics with an OBD-II scanner, clear existing codes, and conduct a test drive to assess improvements.
- Regularly monitor vehicle performance, update firmware if needed, and troubleshoot any issues promptly.
Understanding Vehicle Compatibility and Preparing for Installation

Before installing a performance chip, it’s essential to confirm your vehicle’s compatibility to guarantee maximum results and avoid potential issues.
If your car is from 1996 or newer, it likely has an OBD2 port, making plug-and-play chips a straightforward option. This universal connection simplifies installation and ensures proper communication with the vehicle’s engine management system.
For pre-1996 vehicles, you’ll probably need professional ECU remapping instead of universal chips.
Modern ECUs (2010+) with advanced software tend to adapt better to AI-driven tuning devices, but always check your manufacturer’s documentation for firmware update requirements.
Keep in mind that hybrid and electric vehicles usually have limited compatibility with conventional chips.
Also, consider your engine type—turbocharged, naturally aspirated, or diesel—since each responds differently to tuning.
Confirm these details first to ensure smooth installation and optimal performance gains.
Gathering Necessary Tools and Ensuring a Clean Workspace
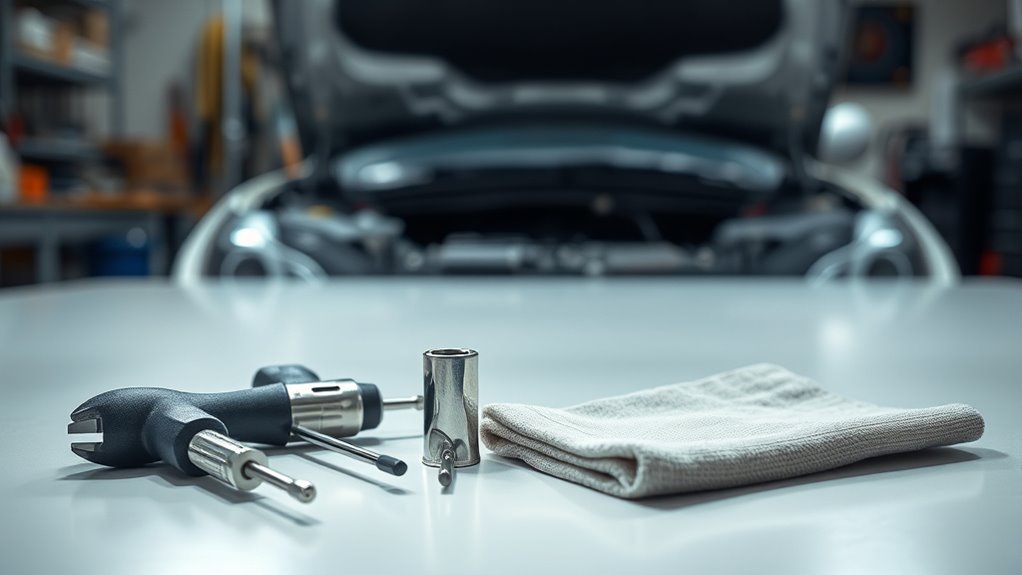
Preparing your workspace and gathering the right tools set the foundation for a smooth performance chip installation. Start by clearing your work surface of clutter and debris, and protect your floor with a mat or old sheets to catch spills. Make certain good lighting so you can see small parts clearly, especially in darker areas. Proper workspace organization minimizes accidents and helps prevent damage to sensitive electronic components. Gather essential tools like a microfiber cloth or compressed air for cleaning, and have your specific performance chip, installation guide, and any needed adapters or wires ready. Keep your chip in its protective packaging until installation. Wear old clothes or protective gear to avoid stains, and use static protection like an anti-static wrist strap when handling electronic parts. Having an emergency kit nearby, along with a support contact and backup parts, prepares you for any unexpected issues. Additionally, consider integrating AI-powered tools to assist with diagnostics or troubleshooting during the installation process. Proper handling of electronic components and awareness of electrostatic discharge risks can significantly reduce the chance of damage.
Locating and Preparing the OBD-II Port or Engine Sensors
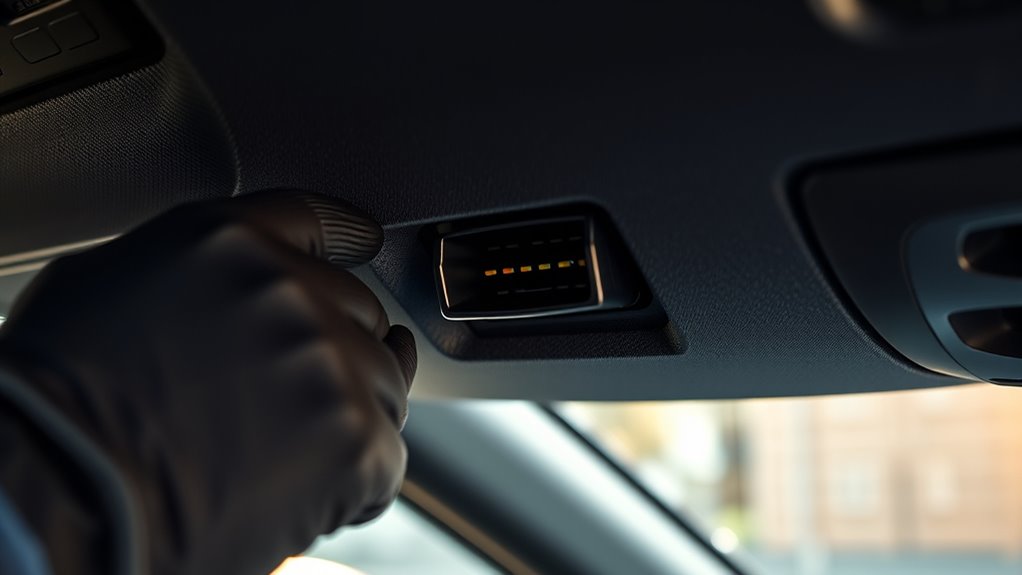
Locating the OBD-II port and engine sensors is a straightforward process that requires attention to common placement areas and vehicle-specific details. Usually, the OBD-II port is under the dashboard within two feet of the steering column, often near the driver’s knee. Alternative locations include near the center console or behind glovebox or ashtray. No tools are needed—just crouch below the steering wheel or check the driver-side footwell. Use this table to guide your search:
| Location | Common Area | Vehicle Year |
|---|---|---|
| OBD-II Port | Under dashboard near steering | 1996+ US, 2001+ EU |
| Engine Sensors | Near intake or exhaust | Varies by model |
| Accessibility | Clear of debris, visible | After mid-2000s |
Ensure the port is accessible and free of obstructions before proceeding. The OBD port is a standard 16-pin connector, and knowing its typical locations can significantly reduce diagnostic time. Additionally, proper identification can prevent accidental damage during connection setup.
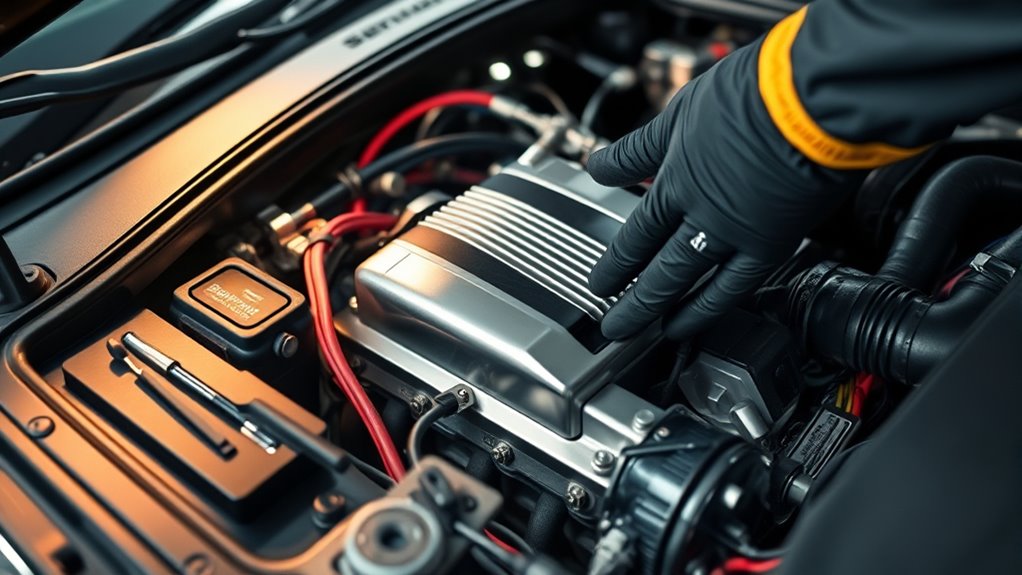
Connecting the Performance Chip Correctly

Ensuring the performance chip connects correctly is essential for ideal engine performance and system safety. First, confirm that the chip is compatible with your vehicle’s make, model, and engine type. Match the chip’s plug design to the vehicle’s OBD-II or sensor connector, and insert it firmly into the designated port. Avoid forcing connections; they should click or lock securely. Compatibility checks are crucial to prevent mismatched connections that could damage the system. Manage cables carefully, securing them to prevent interference or damage. Check that the chip integrates properly with your vehicle’s on-board diagnostics system for seamless monitoring and adjustments. Verify all connections are fully engaged, and use clips or ties to secure loose cables. Protect wiring from heat sources, and ensure no cables are strained or pinched. Proper connection is key to safe and reliable performance. Additionally, ensuring the correct installation procedures can help maintain the longevity and effectiveness of your performance chip. Properly managing electrical connections minimizes the risk of system malfunctions and enhances overall vehicle safety.
Performing Post-Installation Checks and Calibration

After connecting the performance chip, it’s important to verify that everything functions correctly before hitting the road. Check for any warning lights or diagnostic trouble codes (DTCs) using an OBD-II scanner. Make sure no check engine light appears immediately or shortly after installation. This helps identify any potential issues early on. Clear any existing codes beforehand to better identify new issues. If the check engine light persists, recheck the chip’s compatibility and connections. During initial startup, let the engine idle for several minutes to allow onboard systems to recalibrate with the new settings. Monitor engine stability, listen for unusual sounds, and watch the dashboard for warning indicators. Conduct a controlled test drive, paying attention to throttle response, acceleration, and fuel efficiency. Regular diagnostics and data logging help confirm the system’s proper operation and performance improvements. Additionally, paying close attention to engine tuning parameters can help ensure optimal results and prevent potential issues. Properly managing payment processing data security during this process ensures your vehicle’s electronic systems remain protected from cyber threats.
Troubleshooting Common Issues and Ensuring Optimal Performance

To achieve ideal performance after installing a performance chip, you must troubleshoot common issues promptly and accurately. First, verify the chip is fully seated and securely connected in the ECU port, tightening clips or screws to prevent loosening from vibrations. Inspect connectors for dirt, corrosion, or debris that could disrupt electrical contact, and confirm the chip’s orientation matches manufacturer specs. Ensure the connection is free of corrosion or debris, as these can impair electrical contact and lead to performance issues. Use a multimeter to check for shorts in wiring and examine wiring harnesses for damage or loose contacts. If the engine won’t start, test the chip and remove it if necessary. Clear error codes with an OBD-II scanner and ensure the chip is compatible with your vehicle. Additionally, verifying compatibility with vehicle-specific ECU tuning can prevent potential issues. Recent advancements in AI-driven diagnostics have facilitated more precise troubleshooting, making it easier to identify and resolve performance problems. Conduct test drives, monitor diagnostics, and consult manufacturer guidelines to optimize performance and troubleshoot any persistent issues effectively.
Frequently Asked Questions
Can Installing a Performance Chip Void My Vehicle’S Warranty?
Yes, installing a performance chip can void your vehicle’s warranty. When you modify the ECU, manufacturers can detect the changes through diagnostic tools and deny warranty coverage, especially if the modifications increase power or alter engine parameters.
While only affected components might be excluded from warranty, it’s important to understand that improper installation or incompatible chips could also lead to warranty issues or engine damage.
Always consider these risks before proceeding.
Are Performance Chips Legal for Street Use in My Area?
They say “better safe than sorry,” and that’s especially true here. Whether performance chips are legal for street use depends on your local laws.
You need to check regional emissions regulations, since some areas restrict chips that increase pollutants. In many places, chips are legal if they meet emissions standards or are easily reversible.
Always verify your area’s rules first, or you might face fines or vehicle issues down the road.
Will a Performance Chip Affect My Vehicle’S Emissions Compliance?
A performance chip can impact your vehicle’s emissions compliance by increasing fuel consumption and raising pollutant levels like NOx, CO, and particulate matter.
This might cause your vehicle to fail emissions tests or violate local regulations. To stay compliant, select emissions-friendly chips and verify their legality before installation.
Testing with and without the chip helps you confirm your vehicle remains within legal limits, avoiding penalties and environmental harm.
How Often Should I Update the Chip’S Software for Optimal Performance?
You should update your performance chip’s software whenever new updates are released or if you notice performance issues. Regular updates help keep your vehicle running smoothly, improve compatibility with the latest vehicle software, and prevent errors.
Usually, manufacturers recommend checking for updates every few months or when your vehicle receives software upgrades. Staying current with updates guarantees you get the best horsepower, torque, and fuel efficiency from your performance chip.
Is Professional Installation Recommended Over DIY for Complex Chips?
For complex chips, professional installation is highly recommended over DIY. You might have the technical skills for simple setups, but complex chips require precise adjustments and specialized equipment.
Professionals ensure proper installation, reducing the risk of engine damage or poor performance. They also customize tuning based on your vehicle’s needs.
Ultimately, opting for expert help offers peace of mind, safety, and ideal results that DIY methods may not guarantee.
Conclusion
Once you’ve installed your performance chip, think of it like tuning a fine instrument—you’ll notice smoother acceleration and better fuel efficiency. Just like a craftsman fine-tunes their work, take the time to check everything thoroughly. If issues arise, troubleshoot promptly to keep your vehicle running at its best. With patience and care, you’ll enjoy enhanced performance, turning your car into a well-orchestrated machine that responds just like you want it to.

Alex is our go-to expert on performance tuning, with over a decade of experience in the automotive industry. His deep understanding of engine dynamics, exhaust systems, and performance software allows him to break down complex concepts into easy-to-follow guides. Whether you’re looking to boost horsepower or fine-tune your vehicle’s responsiveness, Alex’s insights will help you achieve peak performance.