
To set up a DIY differential cooling system for track days, first assess your differential’s heat load and size, then select a small radiator or oil cooler that fits well in a high-airflow area like behind the bumper. Connect it with high-quality hoses and fittings, ensuring proper routing without kinks. Automate the system with sensors to activate cooling only when needed, and regularly check for leaks and efficiency. Keep going, and you’ll discover detailed steps for an effective setup.
Key Takeaways
- Assess differential heat load and select an appropriately sized oil cooler for track day stresses.
- Install the cooler in a high airflow area, such as behind the bumper or near the radiator.
- Use high-quality hoses and fittings to connect the differential drain or fill ports to the cooler securely.
- Incorporate thermostatic switches or sensors to automate cooling activation based on oil temperature.
- Regularly inspect and maintain the system, checking for leaks and ensuring optimal heat exchange during use.
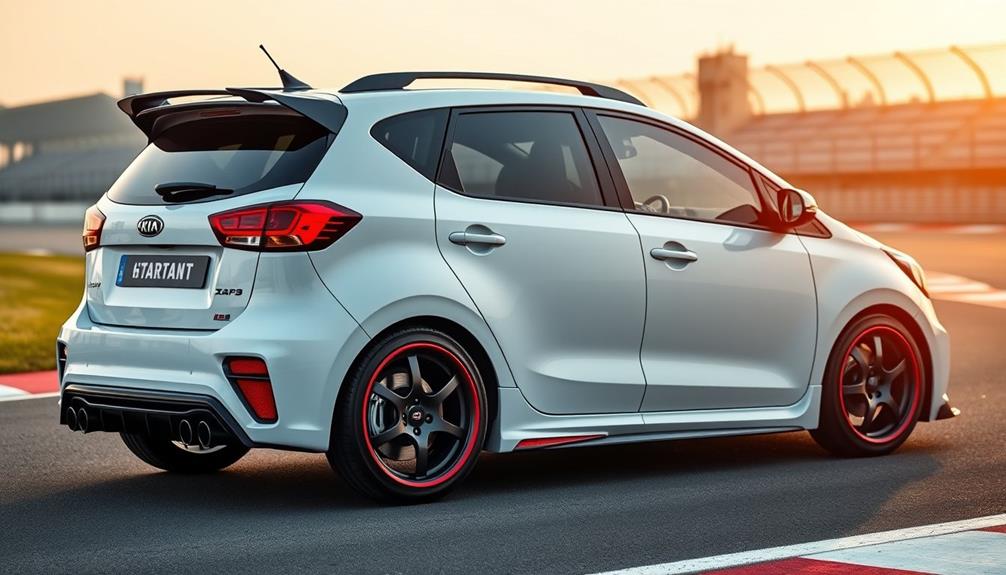
If you want to improve your vehicle’s performance and extend the life of your differential, building a DIY stinger differential cooling system is a smart move. During track days, the differential endures intense stress, and the oil temperature can soar, potentially causing overheating and premature wear. A well-designed cooling system helps manage this heat, ensuring your differential stays within ideal operating temperatures. Keeping the oil temperature in check not only prevents breakdown and degradation of the lubricant but also maintains consistent handling and power transfer.
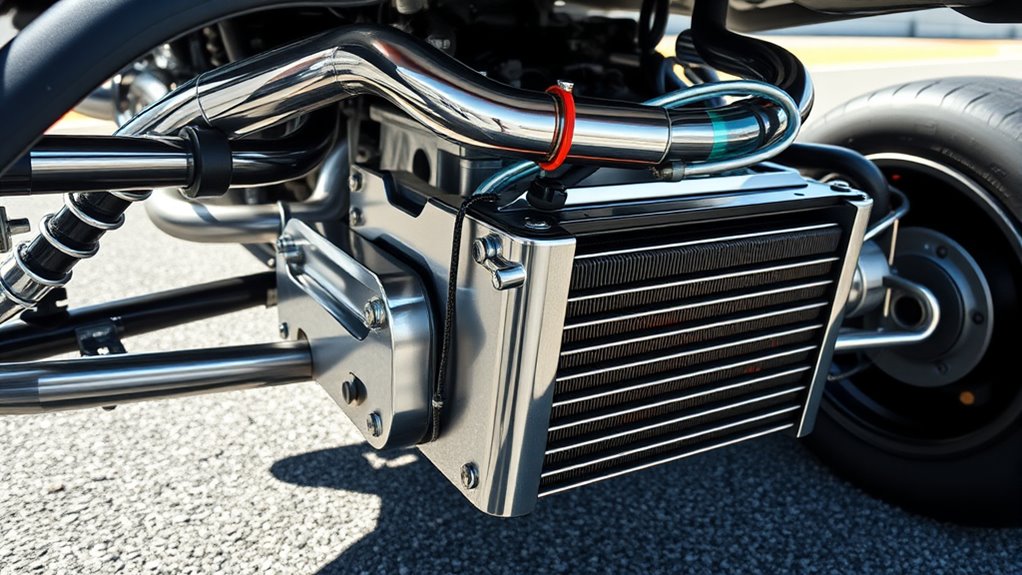
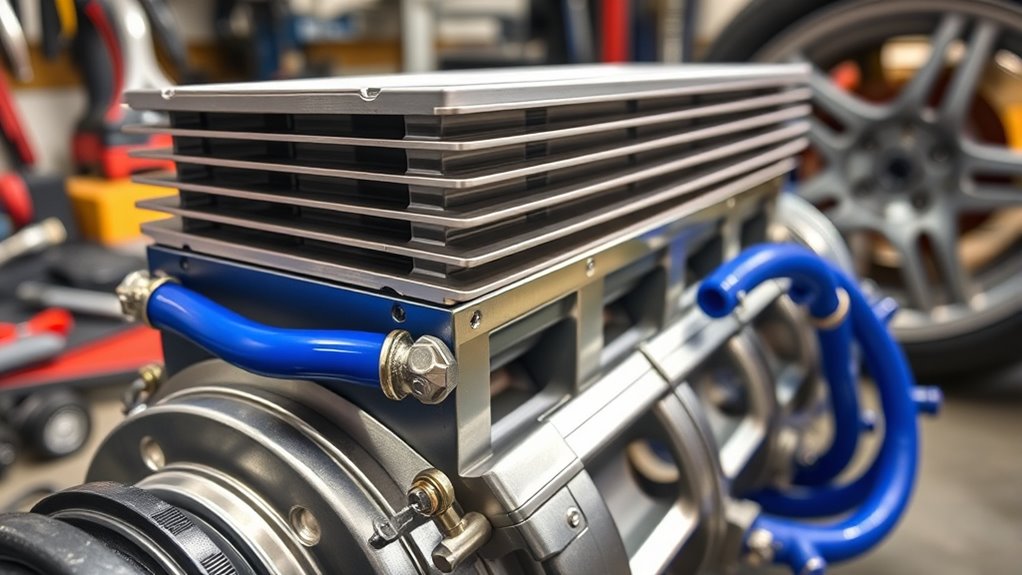
Start by evaluating your differential’s cooling needs. You’ll need to create a setup that efficiently dissipates heat without adding unnecessary complexity or weight. The core idea involves installing a dedicated cooler—like a small radiator or oil cooler—that’s integrated into the existing cooling system or a custom setup. This cooler should be placed in a location with good airflow, such as behind the bumper or near the radiator, to maximize heat exchange. It’s important to select a cooling system that matches your differential’s size and heat load. Larger or heavily stressed differentials require more robust cooling capacity.
Next, you need to connect the cooler to your differential. This involves running high-quality, high-temperature hoses from the differential’s drain or fill ports to the cooler. Make sure these hoses are rated for automotive use and are resistant to oil and heat. Use proper fittings and secure them with clamps to prevent leaks under pressure. The flow of oil through the cooling system must be unobstructed, so keep the hose routing clean and avoid kinks or sharp bends that could restrict flow. Installing a thermostatic switch or a temperature sensor can help automate the system, activating the cooler only when oil temperature exceeds a set threshold. This prevents unnecessary cooling and reduces wear on the pump or fan.
Once installed, the system should be tested thoroughly. Check for leaks, verify proper oil flow, and monitor oil temperature during your track sessions. It’s vital that your cooling system doesn’t create excessive pressure or restrict oil flow, which could lead to worse issues. Over time, regularly inspect and clean your cooler and hoses to maintain efficiency. A DIY stinger differential cooling system not only helps manage oil temperature but also adds a layer of reliability and peace of mind during high-performance driving. By actively controlling heat, you’ll extend the lifespan of your differential and keep it performing at its best, race after race.
Frequently Asked Questions
What Tools Are Needed for the Differential Cooling DIY?
To complete your differential cooling DIY, you’ll need basic tools like wrenches, screwdrivers, and pliers. Make certain the cooling system is compatible with your vehicle and follow installation safety guidelines carefully. Double-check hose sizes and fittings to prevent leaks, and use gloves and eye protection during installation. Properly securing all components guarantees efficient cooling and safe operation, especially for track days where ideal performance is essential.
How Long Does the Installation Process Typically Take?
The installation timeline for this project varies based on your experience and the complexity level of your setup. Typically, it takes around 4 to 6 hours for someone with moderate mechanical skills. If you’re more experienced, it could take less time, but beginners should expect to spend extra time on each step. Make sure you have all tools ready and follow instructions carefully to avoid delays.
Can This Cooling System Be Used on Street-Driven Cars?
You might wonder if this cooling system suits street-driven cars, and it’s worth investigating. While designed for track use, some enthusiasts have adapted it for daily driving, but street legality varies by location. Keep in mind, this system may add complexity or weight, affecting reliability and emissions. If your goal is ideal cooling without legal issues, check local regulations and consider whether a simpler, street-appropriate solution might serve you better.
What Maintenance Is Required After Installation?
After installation, you should regularly check fluid compatibility to guarantee the cooling system functions properly and prevents leaks or failures. Keep an eye on fluid levels and top off with the correct type of coolant as needed. Additionally, prioritize installation safety by inspecting connections and hoses for wear or looseness. Regular maintenance helps maintain ideal cooling performance and extends the system’s lifespan, ensuring your vehicle stays protected during demanding track days or street driving.
Are There Any Warranty Considerations With DIY Cooling Modifications?
Imagine your ride’s performance as a delicate dance, where every move counts. When you make DIY cooling modifications, warranty concerns might feel like stepping on toes, risking manufacturer restrictions. You should carefully review your warranty policy, as some manufacturers limit coverage if they discover unauthorized changes. Staying informed helps you avoid unexpected costs, ensuring your track day adventures stay smooth and worry-free without voiding your warranty.
Conclusion
Now that you’ve successfully built your stinger differential cooling system, remember—it’s like giving your car a gust of fresh air after a long race. Just as a runner needs steady hydration to perform at their best, your differential needs proper cooling to stay reliable during those intense track days. With this DIY, you’ve taken control of your car’s health, ensuring it keeps running smoothly mile after mile. Keep it cool, and enjoy the thrill of the ride!